In the world of robotics and electronics, sensors and input devices play a crucial role in allowing machines to interact with their environment. Among the simplest and most versatile components is the potentiometer — an inexpensive and reliable device that allows manual voltage adjustment.
A potentiometer is a variable resistor with three terminals, whose resistance value can be adjusted by rotating a knob or sliding a control. It’s one of the most common input devices, often used in volume controls, light dimmers, joysticks, and various adjustment systems.
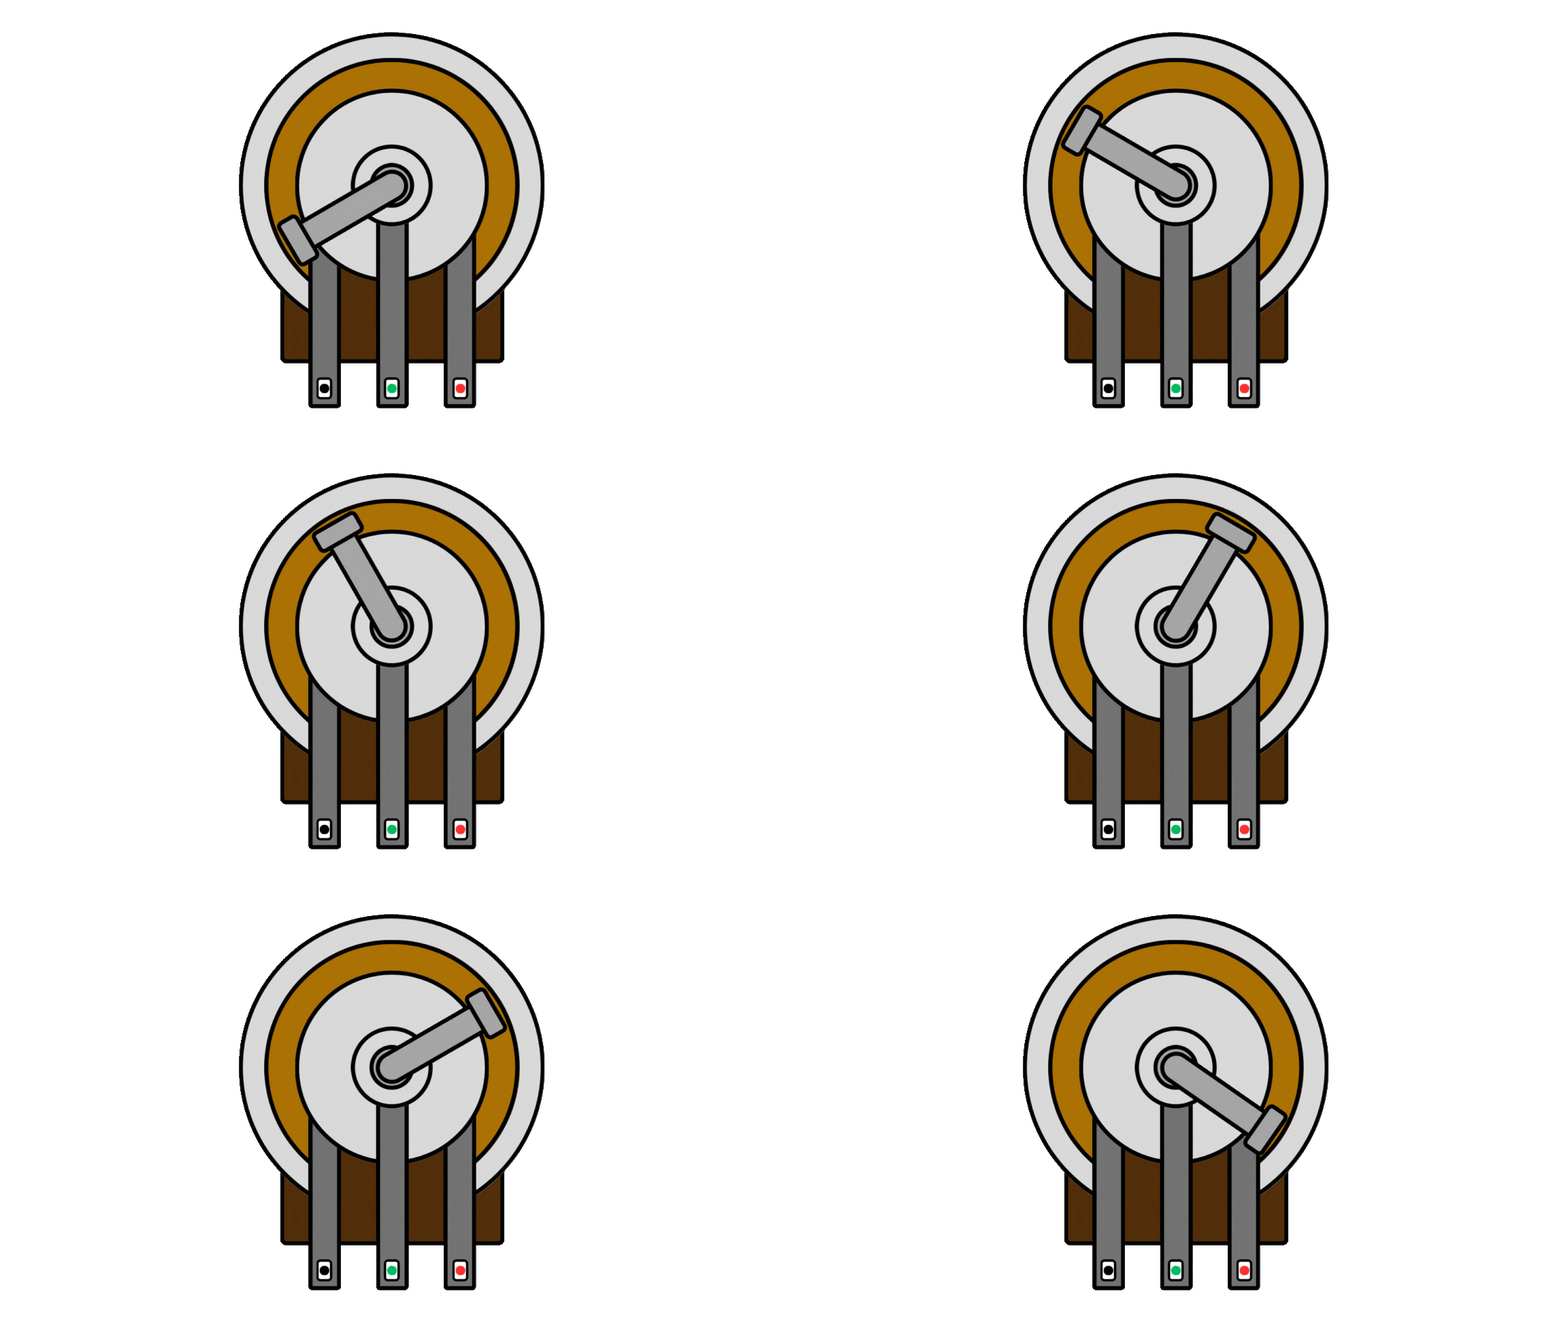
Inside a potentiometer is a resistive track and a wiper (a movable contact). By connecting the two outer pins to a reference voltage (typically 0V and 5V) and taking the signal from the center pin, you can get a variable voltage depending on the wiper’s position.
This voltage is read by the Arduino via an analog input pin and converted into a digital value using its built-in ADC (Analog to Digital Converter).

1 x Arduino Uno (or compatible board)
1 x potentiometer (10kΩ recommended)
Breadboard
Jumper wires
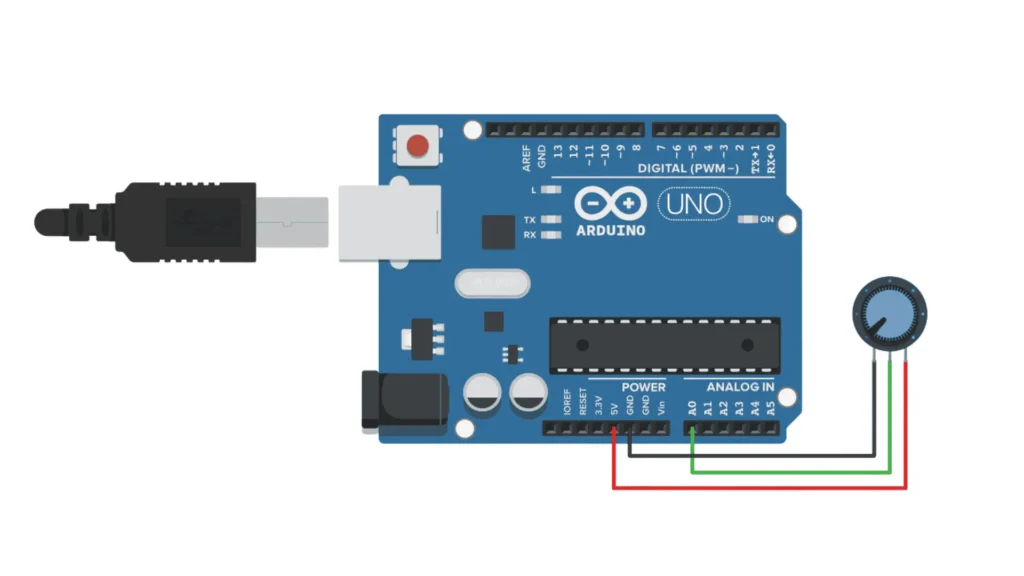
| Potentiometer | Arduino |
|---|---|
| Pin 1 (VCC) | 5V |
| Pin 2 (OUT) | A0 |
| Pin 3 (GND) | GND |

Here’s the code to read the potentiometer’s value and display it in the Serial Monitor:
					// Define the pin connected to the potentiometer
const int potPin = A0;

// Variable to store the analog reading
int potValue = 0;

void setup() {
  // Initialize serial communication
  Serial.begin(9600);
}

void loop() {
  // Read the analog value from the potentiometer
  potValue = analogRead(potPin);

  // Print the value to the Serial Monitor
  Serial.print("Potentiometer Value: ");
  Serial.println(potValue);

  // Wait 200 milliseconds before the next reading
  delay(200);
}
Let’s review the code section by section:
We define:
potPin → the analog pin connected to the potentiometer.
potValue → a variable to hold the reading.
					const int potPin = A0;
int potValue = 0;
					void setup() {
  Serial.begin(9600);
}
In the setup() function, which runs once when the board is powered on:
We initialize serial communication at 9600 baud, necessary for sending data to the computer and viewing it in the Arduino IDE Serial Monitor.
potValue = analogRead(potPin);
This reads the voltage from the analog pin A0. The analogRead() function returns an integer between 0 and 1023, where:
0 represents 0V
1023 represents 5V
					Serial.print("Potentiometer Value: ");
Serial.println(potValue);
Sends the value to the Serial Monitor, preceded by a descriptive label.
delay(200);
Pauses the program for 200 milliseconds before the next reading, making the data stream easier to follow.
To monitor the values in real-time:
Upload the code to your Arduino board.
Open the Serial Monitor from the Arduino IDE (Tools > Serial Monitor).
Set the baud rate to 9600.
Turn the potentiometer knob and watch the values change from 0 to 1023.
Assemble your robot and get started to learn Robotics!