Install Ubuntu 22.04 on a Virtual Machine with VirtualBox
Linux, Tutorials
If you’re new to Linux or want to explore Ubuntu without modifying your main operating system, a Virtual Machine (VM) is the perfect solution. This guide will walk you through installing Ubuntu 22.04 inside Oracle VM VirtualBox. You’ll learn how to set it up safely, efficiently, and without needing to dual-boot your system.
Whether you’re a robotics enthusiast preparing to install ROS, a student exploring open-source systems, or just curious about Ubuntu, this tutorial is designed for complete beginners. Let’s dive in!
Why Use a Virtual Machine?
Using a Virtual Machine (VM) allows you to run Ubuntu on top of your current operating system (Windows or macOS), without altering your partitions or files. It’s an isolated environment ideal for learning, developing, and experimenting—especially useful for robotics, coding, or testing ROS-based applications. You can reset everything easily, take snapshots, and avoid hardware risk.
Step 1 – Download and Install VirtualBox
Start by downloading Oracle VM VirtualBox from the official website (https://www.virtualbox.org). Choose the installer based on your system:
– Windows hosts: .exe file – macOS hosts: .dmg file
Once downloaded, follow the installer’s default prompts and complete the installation. VirtualBox is free, open-source, and well-maintained—perfect for beginners.
Step 2 – Download Ubuntu 22.04 ISO
Go to the official Ubuntu website (https://ubuntu.com/download/desktop) and download the Ubuntu 22.04 LTS ISO file.
The ISO is a disk image containing the entire Ubuntu installer. This will be mounted inside the VirtualBox VM as a virtual CD to begin the installation process.
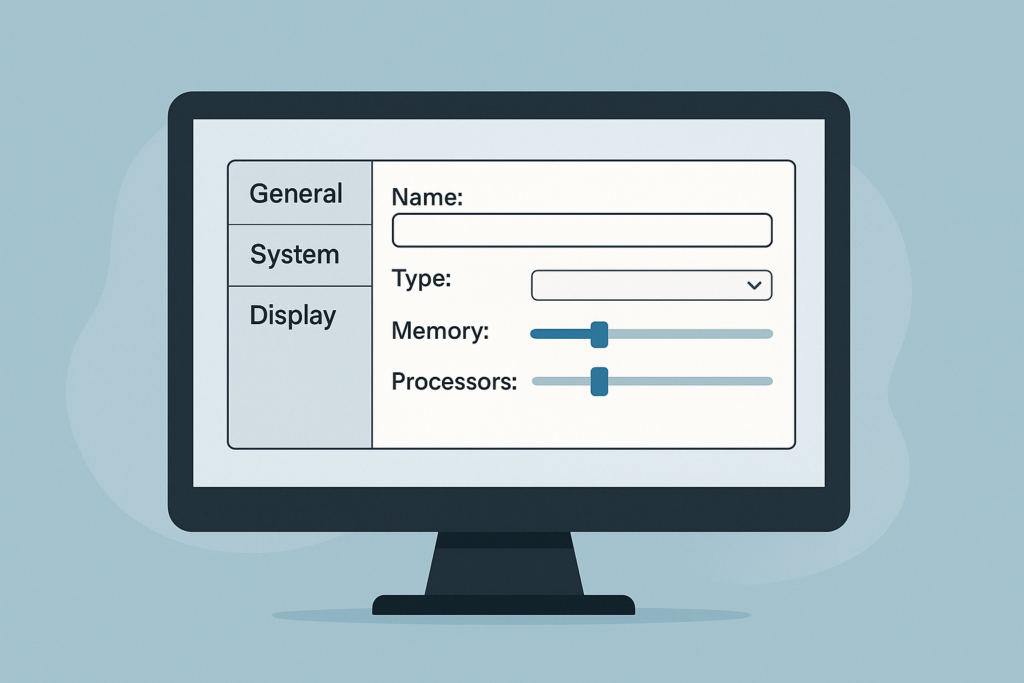
Step 3 – Create and Configure Your Virtual Machine
Open VirtualBox and click on ‘New’.
2. Enter a name (e.g., ‘Ubuntu 22.04’), select ‘Linux’ as the type and ‘Ubuntu (64-bit)’ as the version.
3. Assign RAM: at least 4096 MB (4 GB) is recommended.
4. Create a virtual hard disk: VDI format, dynamically allocated, at least 25 GB.
5. Click ‘Create’ to finish. Now go to ‘Settings’ > ‘System’ > ‘Processor’ and assign 2 CPUs if possible.
6. Under ‘Storage’, click the empty disk icon, choose your Ubuntu ISO, and confirm.
Your VM is now configured and ready to start!
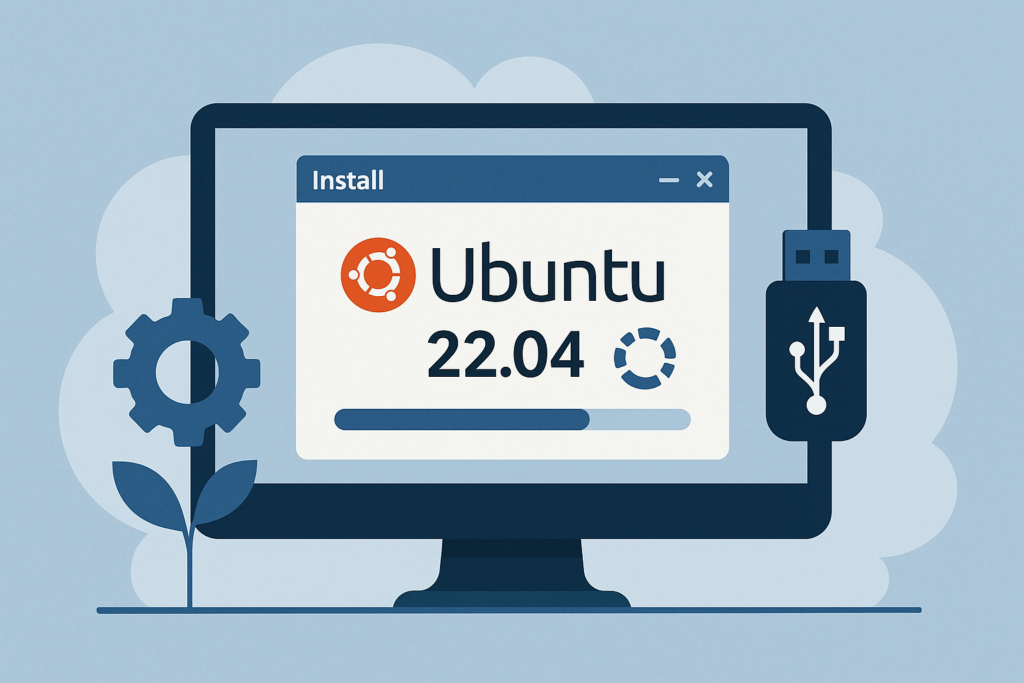
Step 4 – Install Ubuntu 22.04
Select your virtual machine from the VirtualBox list and click ‘Start’.
2. The Ubuntu ISO will boot up. Choose ‘Install Ubuntu’.
3. Select your language and keyboard layout.
4. Leave the default installation options selected (Normal installation).
5. Click ‘Install Now’ and confirm the disk changes.
6. Create your user account with a username and password.
7. Wait for the installation to finish, then click ‘Restart Now’.
Ubuntu 22.04 is now fully installed inside your Virtual Machine!
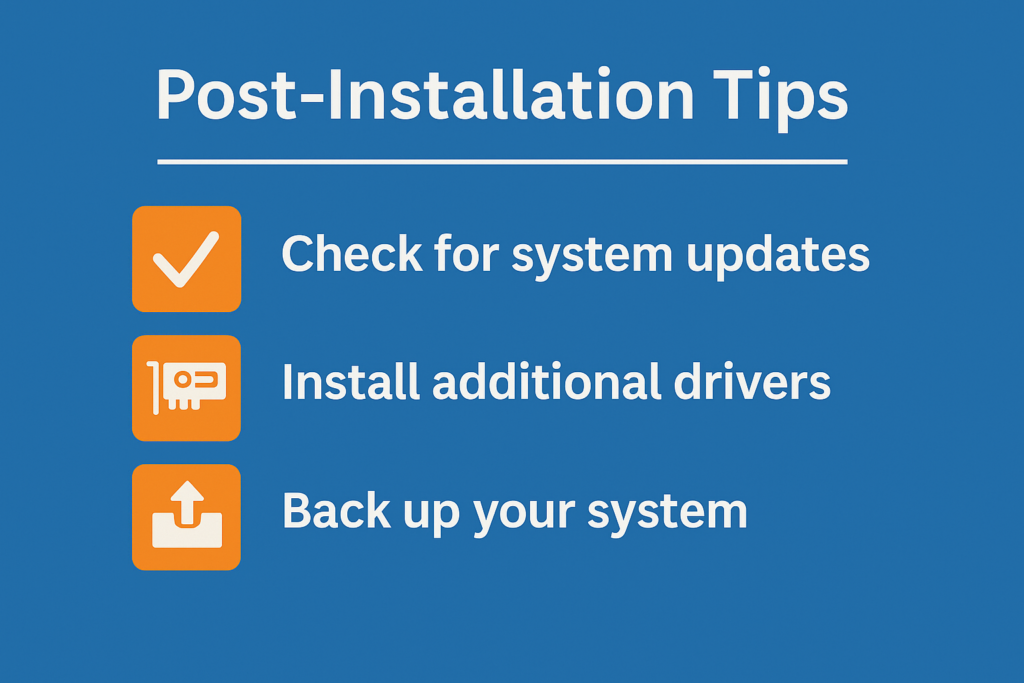
Step 5 – Post-Installation Tips
After the installation is complete and you’ve restarted Ubuntu, you may want to:
– Update the system: Open a terminal and run `sudo apt update && sudo apt upgrade` – Install Guest Additions: Go to the VirtualBox menu > Devices > Insert Guest Additions CD Image – Enable clipboard and drag-and-drop: In VM Settings > General > Advanced – Take a snapshot of your clean install so you can revert back anytime
With these tweaks, your Ubuntu VM will be faster and easier to use.
What’s Next? (Preview: ROS Installation)
Now that your Ubuntu VM is ready, you’re set to move on to the exciting part — installing ROS (Robot Operating System).
In the next lesson, we’ll walk you through how to install ROS 2 on your Ubuntu 22.04 virtual machine and configure it properly for robotics development.
Stay tuned and make sure to save your snapshot before continuing!