How to Interface Your ROS 2 Robot with Alexa Using Flask and Python
Arduino, Electronics, Tutorials
👉 How to Interface Your ROS 2 Robot with Alexa Using Flask and Python
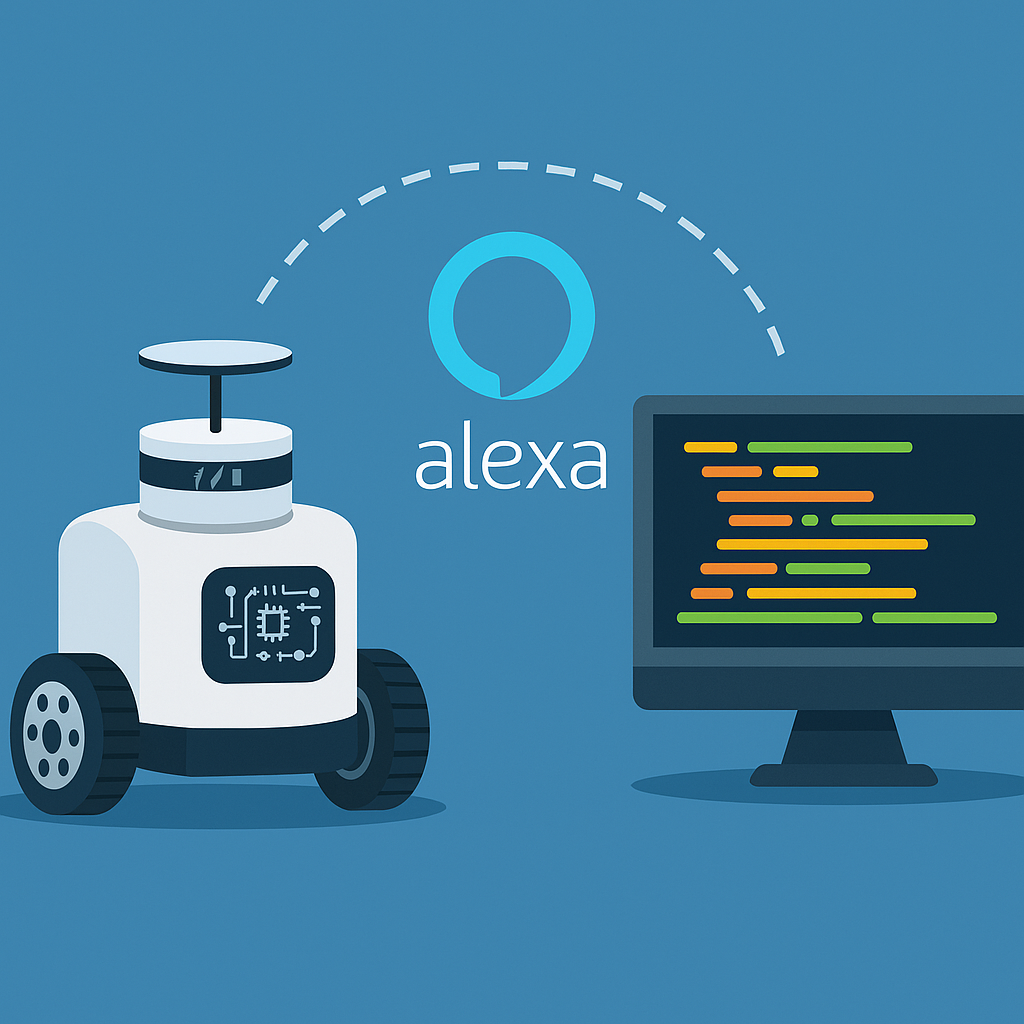
In this hands-on lab, you’ll learn how to create a Python web server that acts as a bridge between an Alexa Skill and your ROS 2 robot. By using Flask and the Alexa Skills Kit SDK, you will interpret voice commands sent from the Alexa cloud and turn them into ROS 2 actions. This guide completes the integration process started in previous tutorials, giving your robot real-time voice control capability.
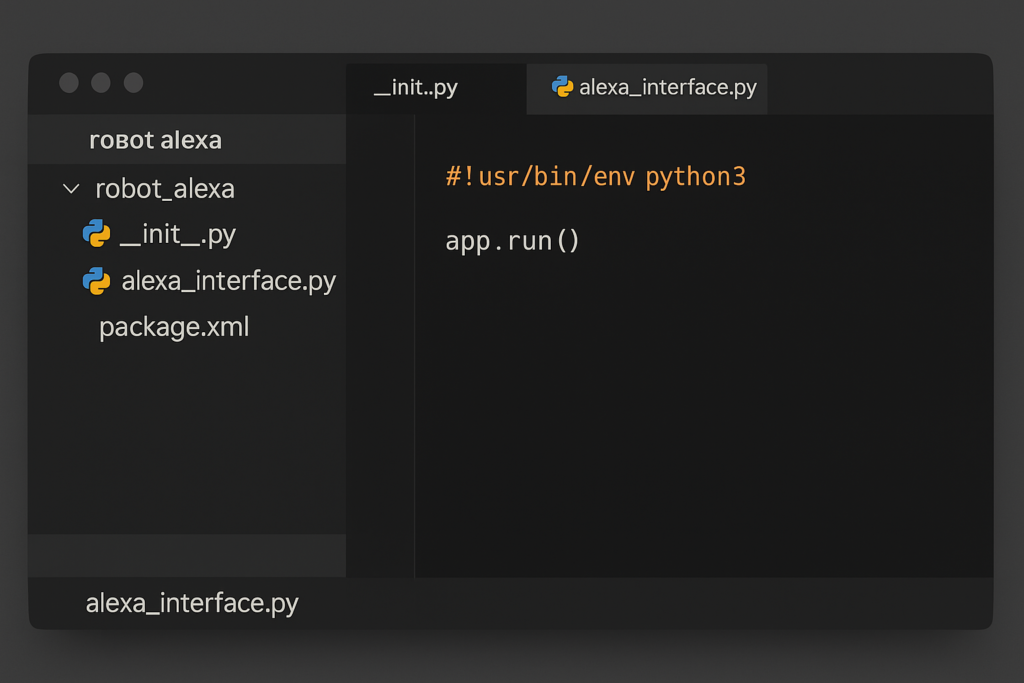
1. Set Up the Project Directory
Create a new project folder and a Python file named `alexa_server.py`. Inside this file, we’ll define the logic for receiving and handling Alexa requests.
Install the necessary packages: `pip install flask flask-ask`
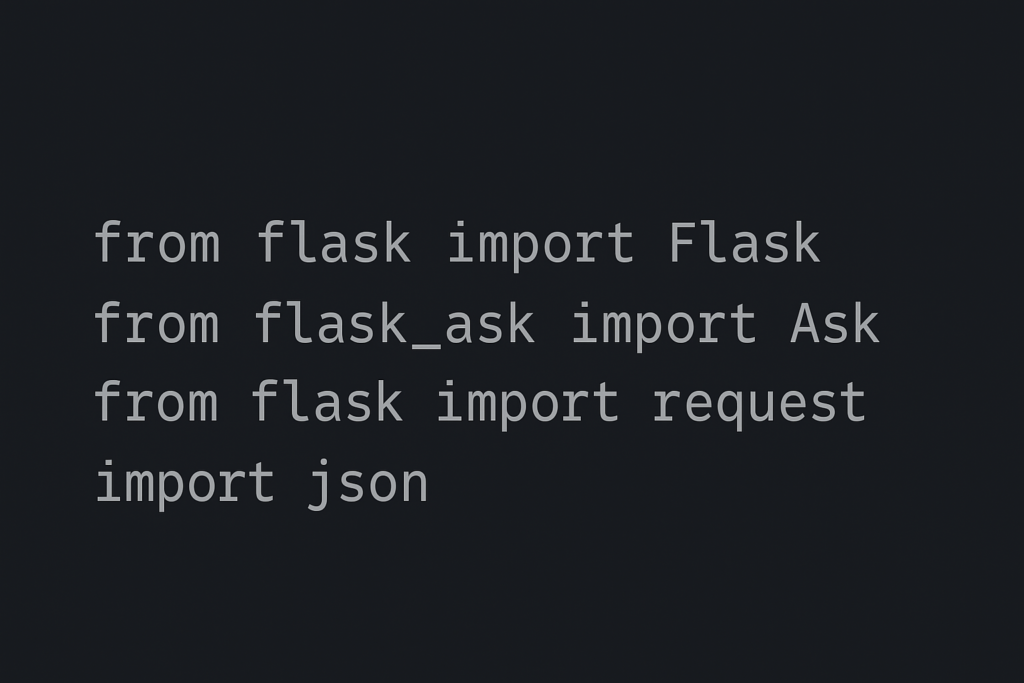
2. Import Required Libraries
Begin your Python file by importing Flask, Flask-Ask, and ROS 2 libraries:
“`python from flask import Flask from flask_ask import Ask, statement import rclpy from rclpy.node import Node # import your custom ROS 2 client interface “`
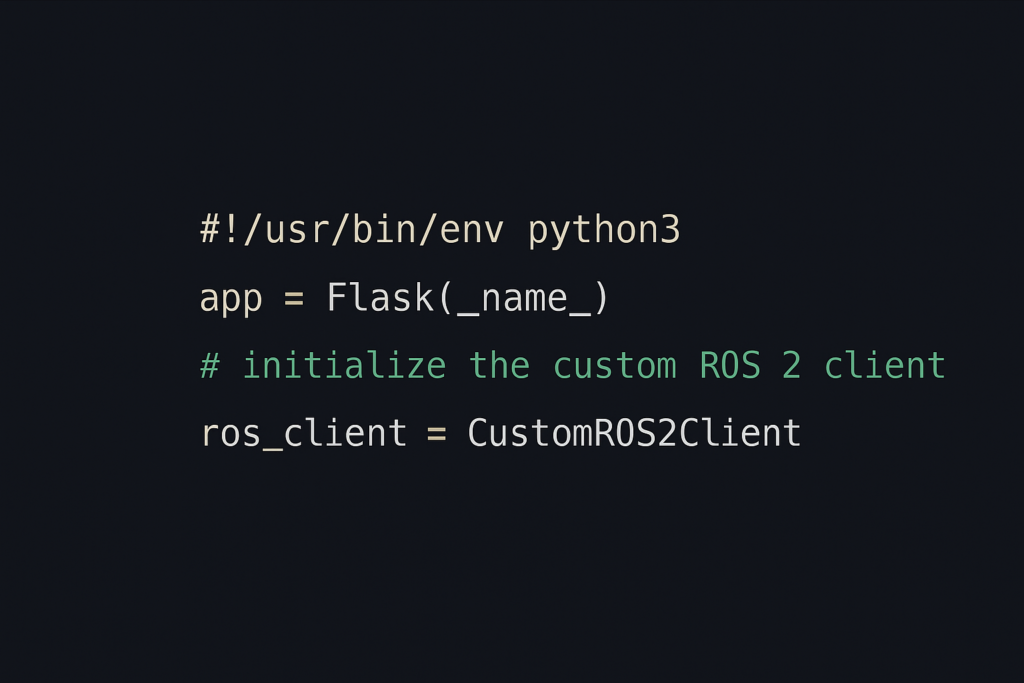
3. Initialize Flask and ROS 2
Set up the basic Flask app and initialize ROS 2 communication:
rclpy.init() # Create your ROS 2 node and action client instance here “`
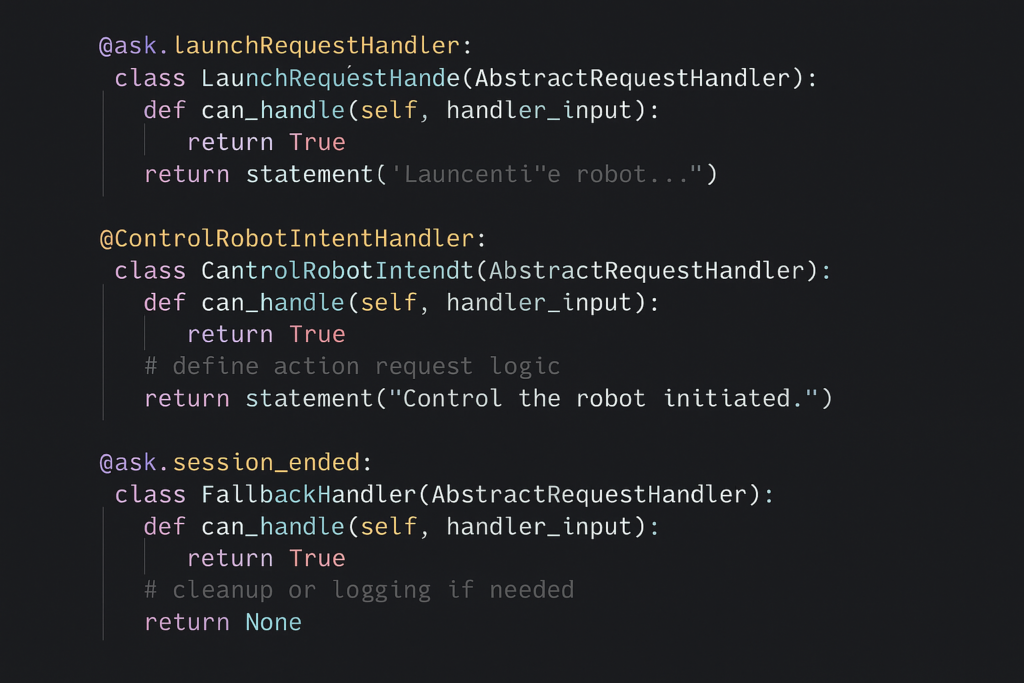
4. Define Request Handlers
Alexa Skills interact with webhooks by sending specific request types (e.g., LaunchRequest, IntentRequest).
Define a handler to respond when the skill is launched:
“`python @ask.launch def launch_skill(): return statement(‘Hello! Your robot is ready.’) “`
Now create one intent handler for each robot command:
“`python @ask.intent(‘WakeIntent’) def wake(): # Send ROS 2 wake command here return statement(‘Robot waking up.’) “`
5. Connect ROS 2 Logic to the Server
Inside each intent function, integrate ROS 2 code to control the robot. This may include publishing messages, sending goals to an action server, or calling services.
Make sure the ROS 2 node and executor are running in a separate thread if needed, so Flask remains responsive.
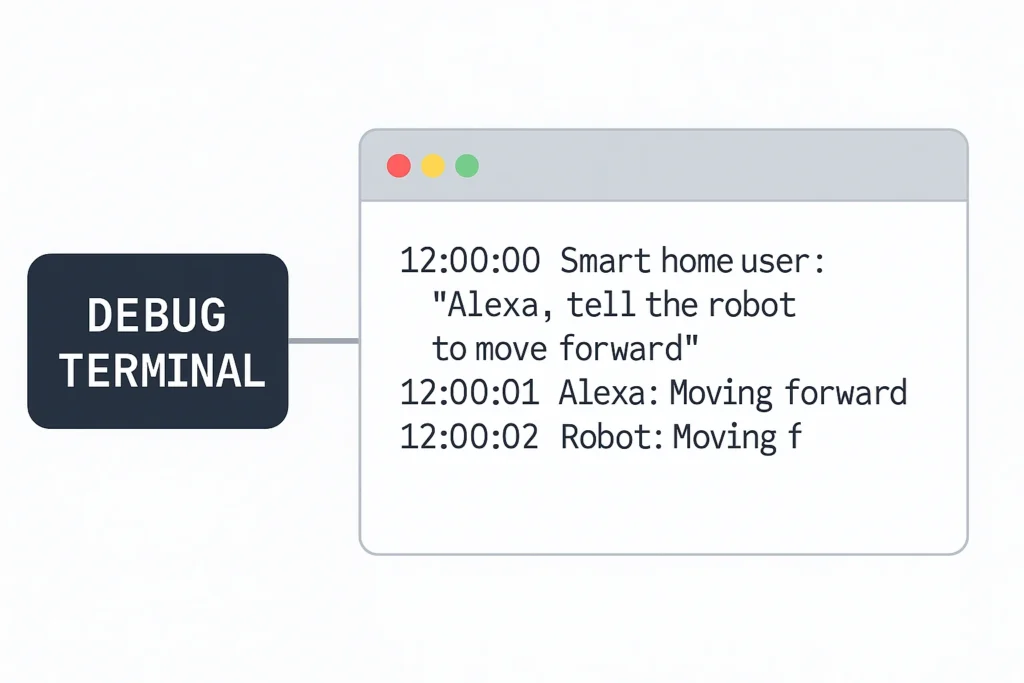
6. Run and Test the Server
Start the server by running: `python3 alexa_server.py`
Ensure ngrok is running and forwarding requests to the correct port (usually 5000).
You can now test the complete Alexa → ngrok → Flask → ROS 2 flow.
7. Conclusion
You’ve now built a custom Python server that connects Alexa with your ROS 2 robot in real-time using voice. This closes the loop in the cloud-to-robot interaction pipeline.
From here, you can expand the project by adding more intents, making the ROS 2 interface more robust, or deploying the system on an embedded platform.
console.log( 'Code is Poetry' );yubboiib
Discover BumperBot Kit
Assemble your robot and get started to learn Robotics!