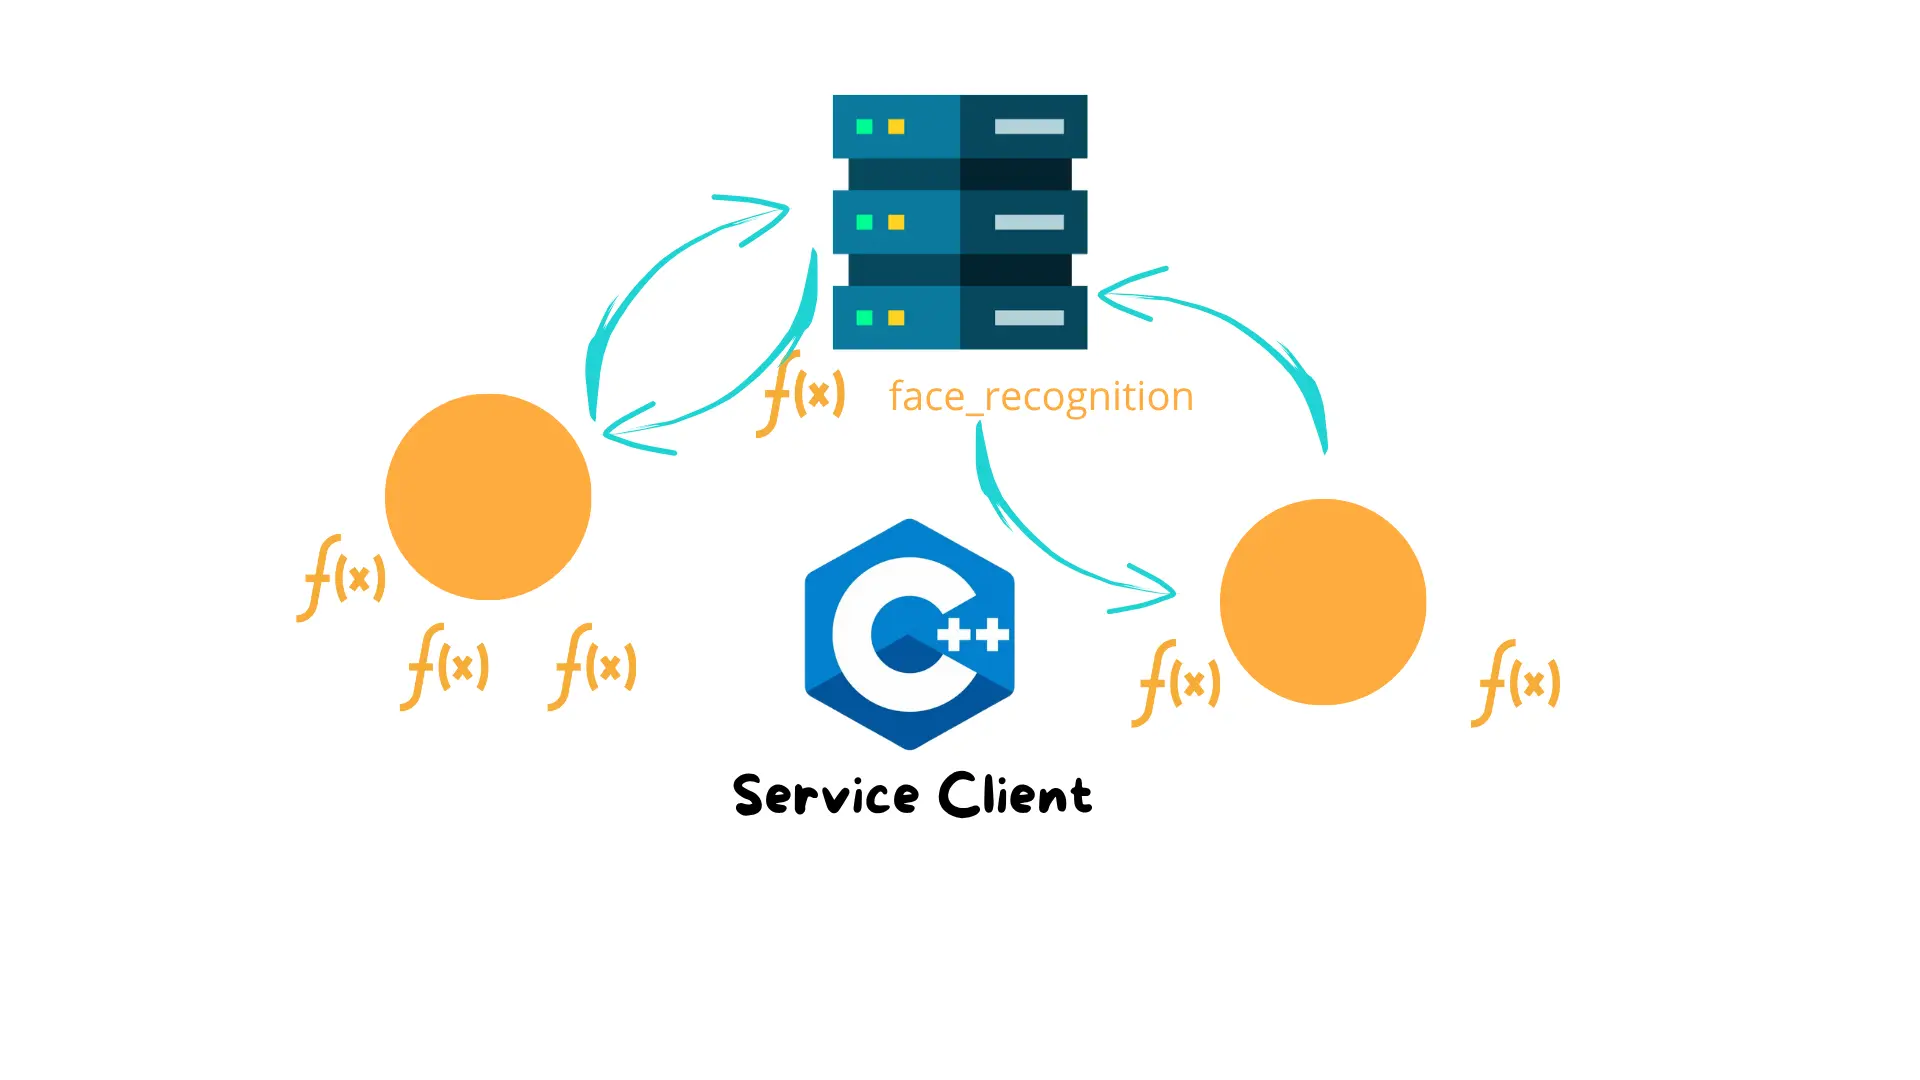
In the previous tutorial, we learned how to build a ROS 2 Service Server that takes two integers and returns their sum.
Now it’s time to create the client node that sends requests to that service — this time, using C++.
This tutorial will guide you through:
Understanding how a ROS 2 service client works.
Implementing a client node in C++.
Sending requests and receiving responses from the server.
Testing the setup with different scenarios.
If you prefer Python, check out our Python version of the service client.
A service client is a node that sends a request to a service server, asking it to perform a specific task — such as adding two numbers. The server processes the request and returns a response.
In this case, our client will:
a and b).
 How Services Work in ROS 2
ROS 2 services follow a client-server model:
This is fundamentally different from topics. Topics are about continuous data streams. Services are about one-time actions with expected outputs.
Now that we’ve defined the service interface, let’s create the actual C++ node that will act as the client. Here’s the full code, followed by an explanation of each part.
					#include <rclcpp/rclcpp.hpp>
#include <memory>
#include <chrono>
#include "arduinobot_msgs/srv/add_two_ints.hpp"

using namespace std::chrono_literals;
using std::placeholders::_1;

class SimpleServiceClient : public rclcpp::Node
{
public:
    SimpleServiceClient(int a, int b) : Node("simple_service_client")
    {
        client_ = create_client<arduinobot_msgs::srv::AddTwoInts>("add_two_ints");

        while (!client_->wait_for_service(1s))
        {
            if (!rclcpp::ok())
            {
                RCLCPP_ERROR(this->get_logger(), "Interrupted while waiting for the service. Exiting.");
                return;
            }
            RCLCPP_INFO(this->get_logger(), "Service not available, waiting again...");
        }

        auto request = std::make_shared<arduinobot_msgs::srv::AddTwoInts::Request>();
        request->a = a;
        request->b = b;

        auto result = client_->async_send_request(request,
            std::bind(&SimpleServiceClient::responseCallback, this, _1));
    }

private:
    void responseCallback(rclcpp::Client<arduinobot_msgs::srv::AddTwoInts>::SharedFuture future)
    {
        if (future.valid())
        {
            RCLCPP_INFO(this->get_logger(), "Service Response: %ld", future.get()->sum);
        }
        else
        {
            RCLCPP_ERROR(this->get_logger(), "Service Failure");
        }
    }

    rclcpp::Client<arduinobot_msgs::srv::AddTwoInts>::SharedPtr client_;
};

int main(int argc, char* argv[])
{
    rclcpp::init(argc, argv);

    if (argc != 3)
    {
        RCLCPP_ERROR(rclcpp::get_logger("rclcpp"), "Wrong number of arguments! Usage: simple_service_client A B");
        return 1;
    }

    auto node = std::make_shared<SimpleServiceClient>(atoi(argv[1]), atoi(argv[2]));
    rclcpp::spin(node);
    rclcpp::shutdown();
    return 0;
}
Let’s go through the code of our simple_service_server.py line by line, so you fully understand how the node is built and how the service is created and exposed in ROS 2.
					#include <rclcpp/rclcpp.hpp>
#include <memory>
#include <chrono>
#include "arduinobot_msgs/srv/add_two_ints.hpp"
We include:
rclcpp → main ROS 2 C++ library.
memory → for std::shared_ptr.
chrono → for time intervals like 1s.
Our custom service definition from arduinobot_msgs.
We also bring into scope:
					using namespace std::chrono_literals;
using std::placeholders::_1;
class SimpleServiceClient : public rclcpp::Node
This inherits from Node so it can participate in ROS 2 communication.
client_ = create_client<arduinobot_msgs::srv::AddTwoInts>("add_two_ints");
Creates a client connected to the add_two_ints service.
while (!client_->wait_for_service(1s)) { ... }
Checks every second if the server is available.
					auto request = std::make_shared<arduinobot_msgs::srv::AddTwoInts::Request>();
request->a = a;
request->b = b;
Fills in the request fields.
auto result = client_->async_send_request(request, std::bind(&SimpleServiceClient::responseCallback, this, _1));
Sends asynchronously and binds a callback to handle the result.
void responseCallback(rclcpp::Client<arduinobot_msgs::srv::AddTwoInts>::SharedFuture future)
If valid, prints the sum. If not, shows an error.
CMakeLists.txtInside arduinobot_cpp_examples/CMakeLists.txt:
					add_executable(simple_service_client src/simple_service_client.cpp)
ament_target_dependencies(simple_service_client rclcpp arduinobot_msgs)

install(TARGETS
  simple_publisher
  simple_subscriber
  simple_service_server
  simple_service_client
  DESTINATION lib/${PROJECT_NAME}
)
First, build your workspace:
					cd ~/arduinobot_ws
colcon build
					. install/setup.bash
ros2 run arduinobot_py_examples simple_service_server
					. install/setup.bash
ros2 service list
					. install/setup.bash
ros2 run arduinobot_py_examples simple_service_client 5 3
You should see something like:
[INFO] [simple_service_client]: Service Response 8
Assemble your robot and get started to learn Robotics!