
In the previous tutorial, we built a simple ROS 2 service server that takes two integers and returns their sum. Now it’s time to create a Python client node that uses this service and communicates with the server to request the calculation.
A service client is a node that sends a request to a service server, asking it to perform a specific task — such as adding two numbers. The server processes the request and returns a response.
In this case, our client will:
a and b).
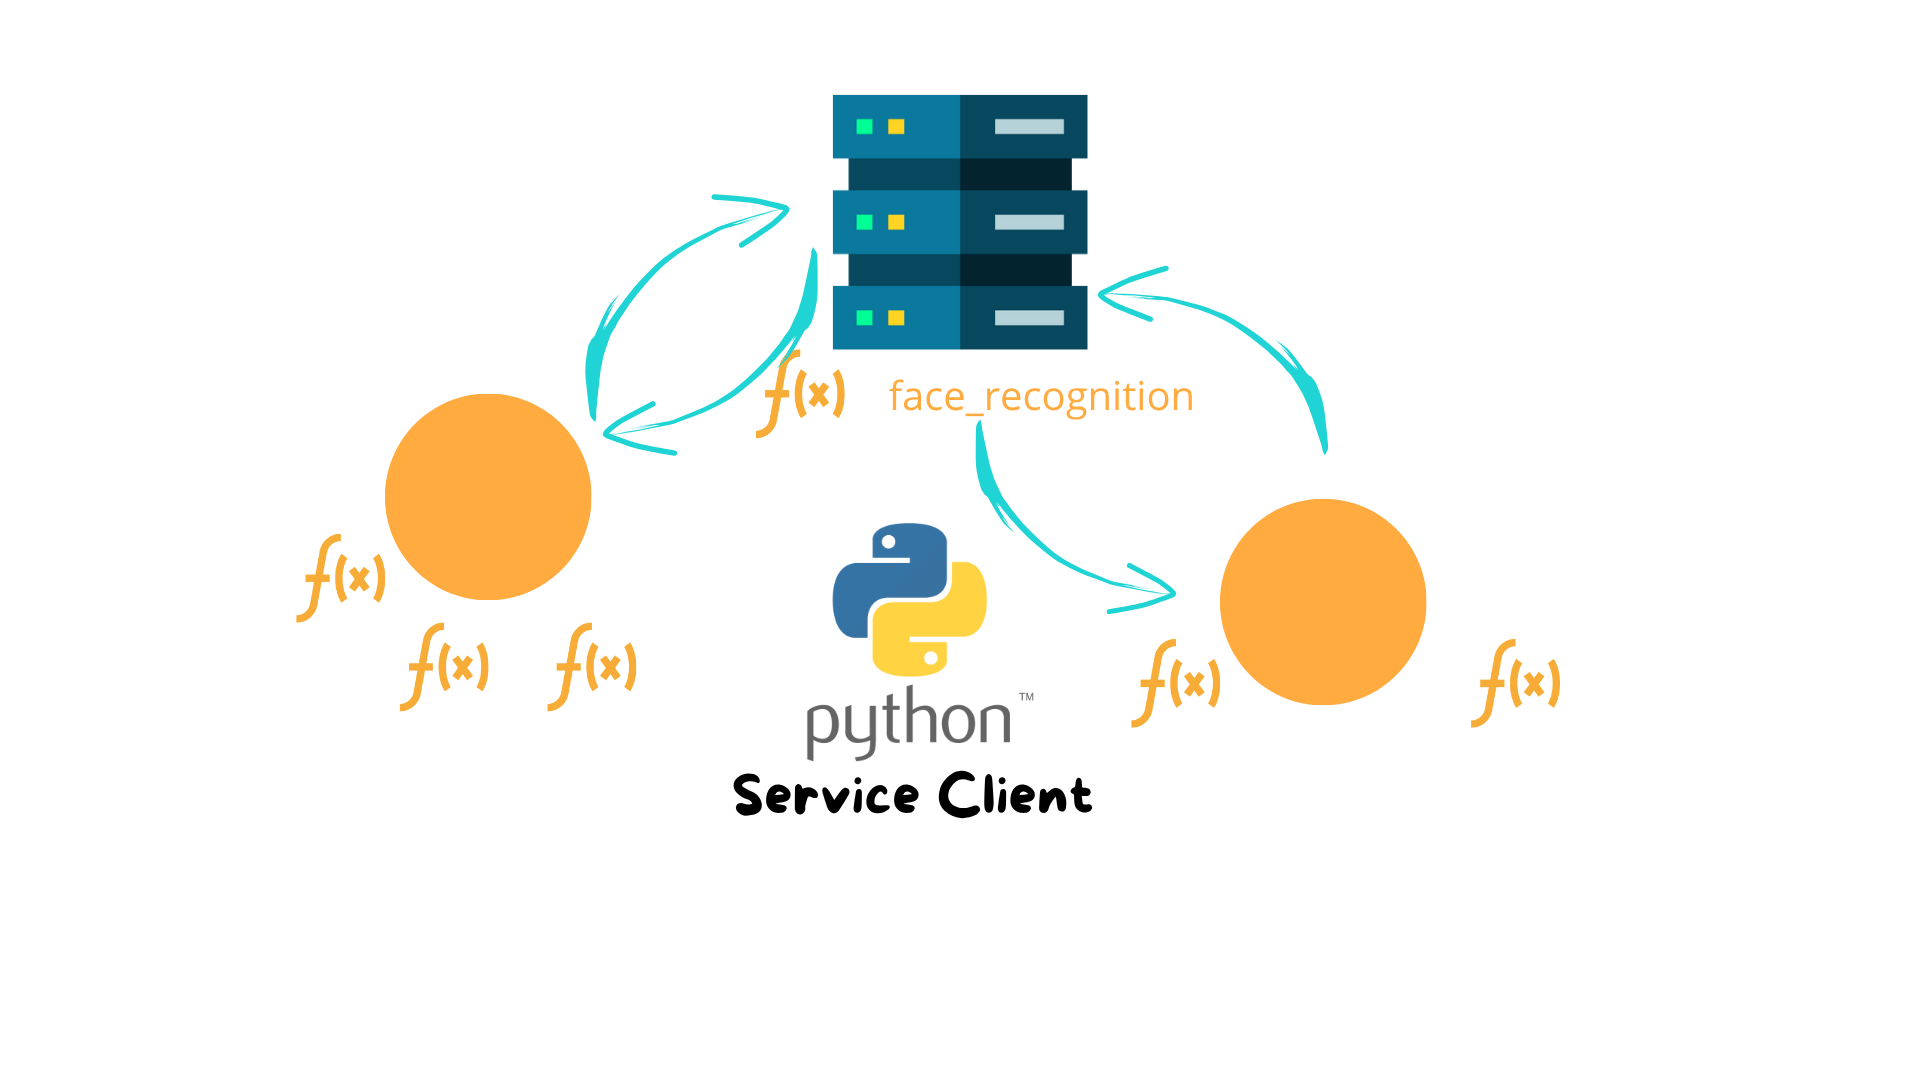
ROS 2 services follow a client-server model:
A Service Server node offers functionality (e.g., summing two numbers)
A Service Client node requests that functionality when needed
The server processes the request and sends a response back
This is fundamentally different from topics. Topics are about continuous data streams. Services are about one-time actions with expected outputs.
Now that we’ve defined the service interface, let’s create the actual Python node that will act as the client. Here’s the full code, followed by an explanation of each part.
					import rclpy
from rclpy.node import Node
from arduinobot_msgs.srv import AddTwoInts
import sys

class SimpleServiceClient(Node):

    def __init__(self, a, b):
        super().__init__('simple_service_client')
        self.client_ = self.create_client(AddTwoInts, 'add_two_ints')

        while not self.client_.wait_for_service(timeout_sec=1.0):
            self.get_logger().info('Service not available, waiting again...')

        self.req_ = AddTwoInts.Request()
        self.req_.a = a
        self.req_.b = b

        self.future_ = self.client_.call_async(self.req_)
        self.future_.add_done_callback(self.responseCallback)

    def responseCallback(self, future):
        self.get_logger().info('Service Response %d' % future.result().sum)

def main():
    rclpy.init()

    if len(sys.argv) != 3:
        print("Wrong number of arguments! Usage: simple_service_client A B")
        return -1

    simple_service_client = SimpleServiceClient(int(sys.argv[1]), int(sys.argv[2]))

    rclpy.spin(simple_service_client)

    simple_service_client.destroy_node()
    rclpy.shutdown()

if __name__ == '__main__':
    main()
Let’s go through the code of our simple_service_server.py line by line, so you fully understand how the node is built and how the service is created and exposed in ROS 2.
					import rclpy
from rclpy.node import Node
from arduinobot_msgs.srv import AddTwoInts
import sys
We import:
rclpy: ROS 2 client library for Python.
Node: base class for our custom node.
AddTwoInts: the custom .srv interface we defined earlier.
sys: to access command-line arguments.
class SimpleServiceClient(Node):
We define a class SimpleServiceServer that inherits from Node. This is the base of our ROS 2 node.
					def __init__(self, a, b):
    super().__init__('simple_service_client')
We initialize the node and give it a name in the ROS 2 graph.
self.client_ = self.create_client(AddTwoInts, 'add_two_ints')
This creates a client for the AddTwoInts service, which must be already running under the name /add_two_ints.
					while not self.client_.wait_for_service(timeout_sec=1.0):
    self.get_logger().info('Service not available, waiting again...')
Before sending a request, we ensure the server is up and running.
					self.req_ = AddTwoInts.Request()
self.req_.a = a
self.req_.b = b
We populate the request object with the values provided when starting the node.
					self.future_ = self.client_.call_async(self.req_)
self.future_.add_done_callback(self.responseCallback)
The request is sent to the service server. When a response is ready, the callback responseCallback is executed.
					def responseCallback(self, future):
    self.get_logger().info('Service Response %d' % future.result().sum)
This logs the result returned by the server.
					def main():
    rclpy.init()
We initialize ROS 2.
					if len(sys.argv) != 3:
    print("Wrong number of arguments! Usage: simple_service_client A B")
    return -1
We check that two integers were passed as arguments.
simple_service_client = SimpleServiceClient(int(sys.argv[1]), int(sys.argv[2]))
We create the node and pass the input values.
					rclpy.spin(simple_service_client)
simple_service_client.destroy_node()
rclpy.shutdown()
We keep the node alive, then clean up when it’s done.
Make sure to register this script in arduinobot_py_examples/setup.py:
					entry_points={
    'console_scripts': [
        'simple_service_client = arduinobot_py_examples.simple_service_client:main',
    ],
},
First, build your workspace:
					cd ~/arduinobot_ws
colcon build
					. install/setup.bash
ros2 run arduinobot_py_examples simple_service_server
					. install/setup.bash
ros2 service list
					. install/setup.bash
ros2 run arduinobot_py_examples simple_service_client 5 3
You should see something like:
[INFO] [simple_service_client]: Service Response 8
Assemble your robot and get started to learn Robotics!