
In robotics, especially with ROS 2, it’s common for different nodes to interact and collaborate to accomplish tasks. So far, we’ve used the publisher/subscriber model to communicate between them — which works well for data streaming. But what if you just need to trigger a specific operation and get a result back?
That’s where Services in ROS 2 come into play. They allow one node to offer a specific functionality and other nodes to access it on demand using a request-response protocol.
In this tutorial, we’ll explore the server side of services in ROS 2 using Python. We’ll build a service that sums two integers, exposing the logic as a reusable node that other nodes can call any time they need.
Imagine this: you’ve already built a face detection feature for your robot in one node. Later, you write another node that needs the same functionality.
Copy-pasting the same face detection code into multiple files might sound like a quick fix, but it introduces risk and maintenance headaches — especially if the code needs to change later.
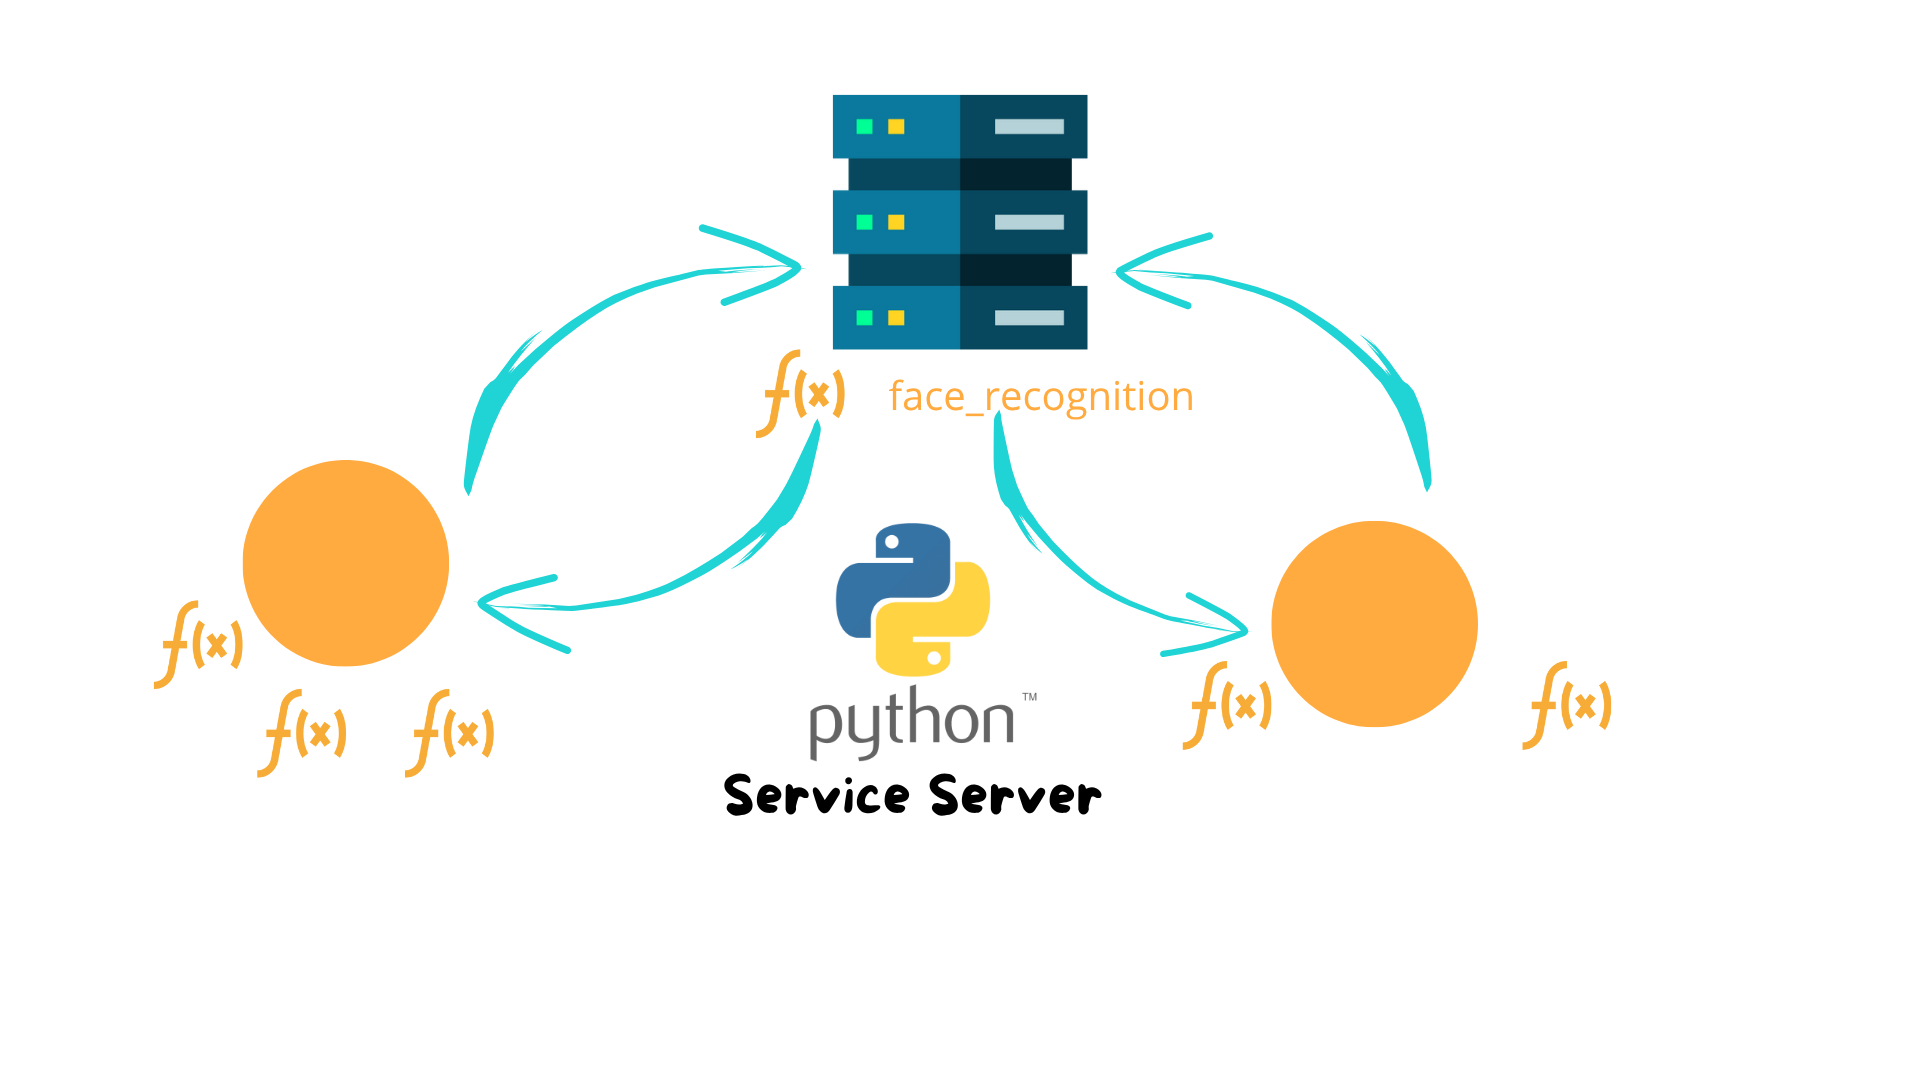
Instead, you can wrap that logic in a service, turning it into a callable unit. This way, other nodes just send a request, get a response, and stay decoupled from the implementation.
ROS 2 services follow a client-server model:
A Service Server node offers functionality (e.g., summing two numbers)
A Service Client node requests that functionality when needed
The server processes the request and sends a response back
This is fundamentally different from topics. Topics are about continuous data streams. Services are about one-time actions with expected outputs.
Before building the service, we must define the message structure it will use.
Each service in ROS 2 has:
Let’s define a simple service that adds two integers.
					cd ~/arduinobot_ws/src
ros2 pkg create --build-type ament_cmake arduinobot_msgs
Create the interface folder and file:
					mkdir -p arduinobot_msgs/srv
nano arduinobot_msgs/srv/AddTwoInts.srv
Add the request/response structure:
					# Request
int64 a
int64 b
---
# Response
int64 sum
Update CMakeLists.txt:
					find_package(rosidl_default_generators REQUIRED)
find_package(std_msgs REQUIRED)

rosidl_generate_interfaces(${PROJECT_NAME}
  "srv/AddTwoInts.srv"
)
Update package.xml:
					<build_depend>rosidl_default_generators</build_depend>
<exec_depend>rosidl_default_runtime</exec_depend>
<depend>std_msgs</depend>
<member_of_group>rosidl_interface_packages</member_of_group>
Build the workspace:
					cd ~/arduinobot_ws
colcon build
. install/setup.bash
Now that we’ve defined the service interface, let’s create the actual Python node that will act as the server. Here’s the full code, followed by an explanation of each part.
					import rclpy
from rclpy.node import Node
from arduinobot_msgs.srv import AddTwoInts

class SimpleServiceServer(Node):
    def __init__(self):
        super().__init__('simple_service_server')
        self.service_ = self.create_service(AddTwoInts, 'add_two_ints', self.serviceCallback)
        self.get_logger().info('Service add_two_ints Ready')

    def serviceCallback(self, req, res):
        self.get_logger().info(f"New Request Received: a={req.a}, b={req.b}")
        res.sum = req.a + req.b
        self.get_logger().info(f"Returning sum: {res.sum}")
        return res

def main():
    rclpy.init()
    server = SimpleServiceServer()
    rclpy.spin(server)
    server.destroy_node()
    rclpy.shutdown()

if __name__ == '__main__':
    main()
Let’s go through the code of our simple_service_server.py line by line, so you fully understand how the node is built and how the service is created and exposed in ROS 2.
					import rclpy
from rclpy.node import Node
from arduinobot_msgs.srv import AddTwoInts
We import the core ROS 2 Python library rclpy, the base Node class, and the custom service interface AddTwoInts we previously defined in our .srv file.
class SimpleServiceServer(Node):
We define a class SimpleServiceServer that inherits from Node. This is the base of our ROS 2 node.
					    def __init__(self):
        super().__init__('simple_service_server')
The constructor initializes the base Node with the name "simple_service_server". This is how the node will appear in the ROS 2 graph.
self.service_ = self.create_service(AddTwoInts, 'add_two_ints', self.serviceCallback)
This line creates the actual service server using:
AddTwoInts: the interface defining the request and response structure'add_two_ints': the service name as seen in the ROS 2 systemself.serviceCallback: the callback function to call when a client sends a request
self.get_logger().info('Service add_two_ints Ready')
A simple console log to confirm that the service has been created and is ready to receive requests.
def serviceCallback(self, req, res):
This is the callback function that ROS 2 automatically calls when a request is received by the service. It gets passed:
req: the request message (containing a and b)res: the response message that we must populate and return
self.get_logger().info(f"New Request Received: a={req.a}, b={req.b}")
We log the contents of the request for debugging and visibility.
res.sum = req.a + req.b
This is the core logic of our service: add the two integers received in the request and store the result in the response message.
self.get_logger().info(f"Returning sum: {res.sum}")
Again, we log what we’re returning to the client for clarity.
return res
This returns the response object back to the service infrastructure, which then sends it to the requesting client.
Now let’s look at the main() function, which starts the node when the script runs.
def main():
Define the entry point of the script.
rclpy.init()
Initialize the ROS 2 Python client library. This is mandatory before using any ROS feature.
server = SimpleServiceServer()
Instantiate our service server node. This will call the constructor, setting up the node and the service.
rclpy.spin(server)
Keep the node alive and responsive to incoming requests by entering ROS 2’s spin loop.
					    server.destroy_node()
    rclpy.shutdown()
When the node is shut down (e.g., with CTRL + C), these lines clean up and shut down the ROS 2 system properly.
					if __name__ == '__main__':
    main()
This checks if the script is being run directly and not imported, and if so, it starts the main function.
Edit setup.py:
					entry_points={
    'console_scripts': [
        'simple_service_server = arduinobot_py_examples.simple_service_server:main',
    ],
}
In package.xml, add the message package:
<exec_depend>arduinobot_msgs</exec_depend>
Then rebuild:
					colcon build
. install/setup.bash
Start the service:
ros2 run arduinobot_py_examples simple_service_server
In another terminal:
					ros2 service list
ros2 service type /add_two_ints
Call the service:
ros2 service call /add_two_ints arduinobot_msgs/srv/AddTwoInts "{a: 4, b: 6}"
Expected output:
					requester: sending request: a=4 b=6
response:
  sum: 10
Assemble your robot and get started to learn Robotics!