
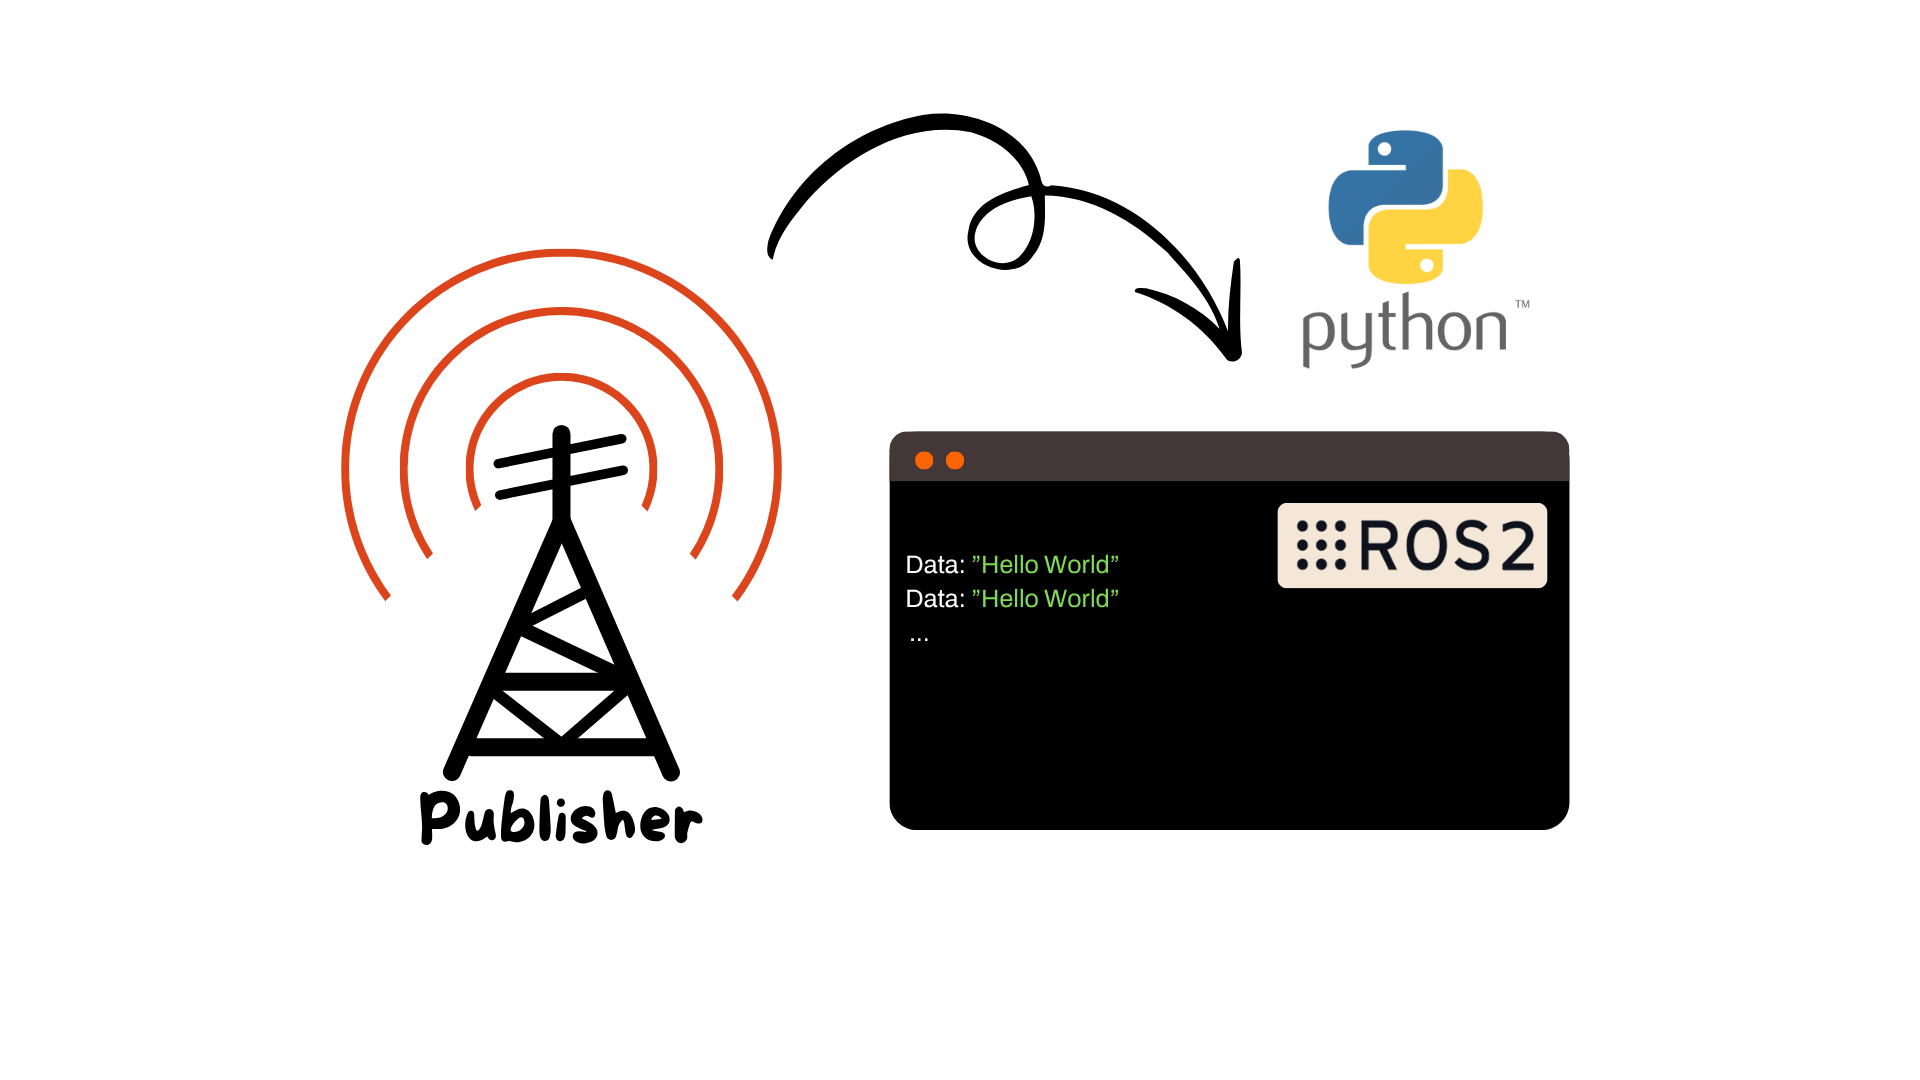
In this guide, we’ll build a simple publisher node using Python in ROS2.
The node will periodically publish a string message on a topic.
We’ll explain every step clearly and line-by-line, so even if you’re new to ROS you can follow along.
In ROS (Robot Operating System), software is organized into small, independent processes called nodes.
Nodes communicate by publishing and subscribing to topics — named channels that carry specific types of data.
For example:
A camera node might publish images on /camera/image_raw
A motor controller might subscribe to /cmd_vel to receive movement commands.
Nodes and topics decouple your software, so different parts of your robot can evolve independently and work together via message passing.
We’ll:
Create a new Python package inside an existing ROS2 workspace
Write a publisher node in Python
Build and run it
Monitor its output via ROS2 command-line tools
The node will:
Publish a string message on a topic named /chatter
Run in a loop at a fixed frequency
Display a counter alongside the message

If you haven’t created a ROS2 workspace yet, follow this clear tutorial first:
How to Create a ROS2 Workspace
Once your workspace is ready and sourced, continue from here.
First, make sure your ROS 2 workspace exists and is sourced:
					source /opt/ros/jazzy/setup.bash
cd ~/ros2_ws/src
Now create a new Python package:
ros2 pkg create --build-type ament_python py_talker
Go to your package’s Python module folder:
					cd py_talker/py_talker
touch simple_publisher.py
chmod +x simple_publisher.py
Now open simple_publisher.py and insert this code:
					#!/usr/bin/env python3

import rclpy
from rclpy.node import Node
from std_msgs.msg import String

class SimplePublisher(Node):
    def __init__(self):
        super().__init__('simple_publisher')
        self.publisher_ = self.create_publisher(String, 'chatter', 10)
        timer_period = 0.5  # seconds
        self.timer = self.create_timer(timer_period, self.timer_callback)
        self.counter = 0

    def timer_callback(self):
        msg = String()
        msg.data = f'Hello ROS2 Jazzy: {self.counter}'
        self.publisher_.publish(msg)
        self.get_logger().info(f'Publishing: "{msg.data}"')
        self.counter += 1

def main(args=None):
    rclpy.init(args=args)
    simple_publisher = SimplePublisher()
    rclpy.spin(simple_publisher)
    simple_publisher.destroy_node()
    rclpy.shutdown()

if __name__ == '__main__':
    main()
Let’s carefully go through this code line by line.
Imports
					import rclpy
from rclpy.node import Node
from std_msgs.msg import String
rclpy is the Python client library for ROS 2.
Node is the base class to create your own ROS 2 node.
String is the standard message type we’ll publish.
Create a Node Class
class SimplePublisher(Node):
Defines a class inheriting from Node.
Node Initialization
super().__init__('simple_publisher')
Calls the base class constructor with the node name 'simple_publisher'.
Create the Publisher
self.publisher_ = self.create_publisher(String, 'chatter', 10)
Creates a publisher for String messages on topic 'chatter'.
10 is the queue size (messages buffered if subscribers aren’t fast enough).
Create a Timer
					timer_period = 0.5
self.timer = self.create_timer(timer_period, self.timer_callback)
Sets a timer to call timer_callback() every 0.5 seconds..
Initialize a Counter
self.counter = 0
Used to number each message.
Define the Callback
def timer_callback(self):
This function is called every time the timer expires (every 0.5 s).
Create and Publish a Message
					msg = String()
msg.data = f'Hello ROS2 Jazzy: {self.counter}'
self.publisher_.publish(msg)
Creates a String message
Sets its data to a text message including the counter
Publishes it on the /chatter topic
Log the Message
self.get_logger().info(f'Publishing: "{msg.data}"')
Logs to the console whenever a message is sent.
Increment Counter
self.counter += 1
Increases message number for next iteration.
Start the Node
					def main(args=None):
    rclpy.init(args=args)
    simple_publisher = SimplePublisher()
    rclpy.spin(simple_publisher)
Initializes ROS 2
Instantiates your node
spin() keeps it running, waiting for events (like timer callbacks)
Clean Shutdown
					simple_publisher.destroy_node()
rclpy.shutdown()
Stops the node cleanly
Shuts down ROS 2 client libraries
setup.pyEdit your package’s setup.py and make sure to include
					entry_points={
    'console_scripts': [
        'talker = py_talker.simple_publisher:main',
    ],
},
This allows you to run the node with ros2 run.
Go back to the root of your workspace and build:
					cd ~/ros2_ws
rosdep install -i --from-path src --rosdistro jazzy -y
colcon build
source install/setup.bash
Launch your publisher node:
ros2 run py_talker talker
In a new terminal:
					source ~/ros2_ws/install/setup.bash
ros2 topic list
You should see:
					/chatter
/rosout
/rosout_agg
To view the published messages:
ros2 topic echo /chatter
You’ll see:
					data: "Hello world 0"
data: "Hello world 1"
...
Check topic information:
ros2 topic info /chatter
Check message frequency:
ros2 topic hz /chatter
Assemble your robot and get started to learn Robotics!