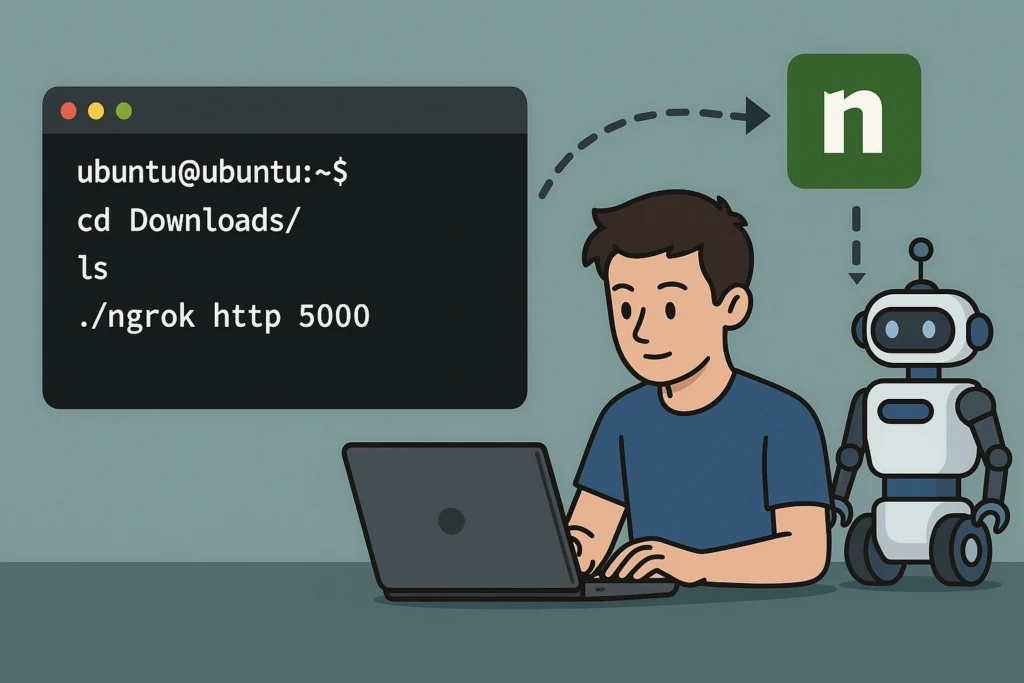
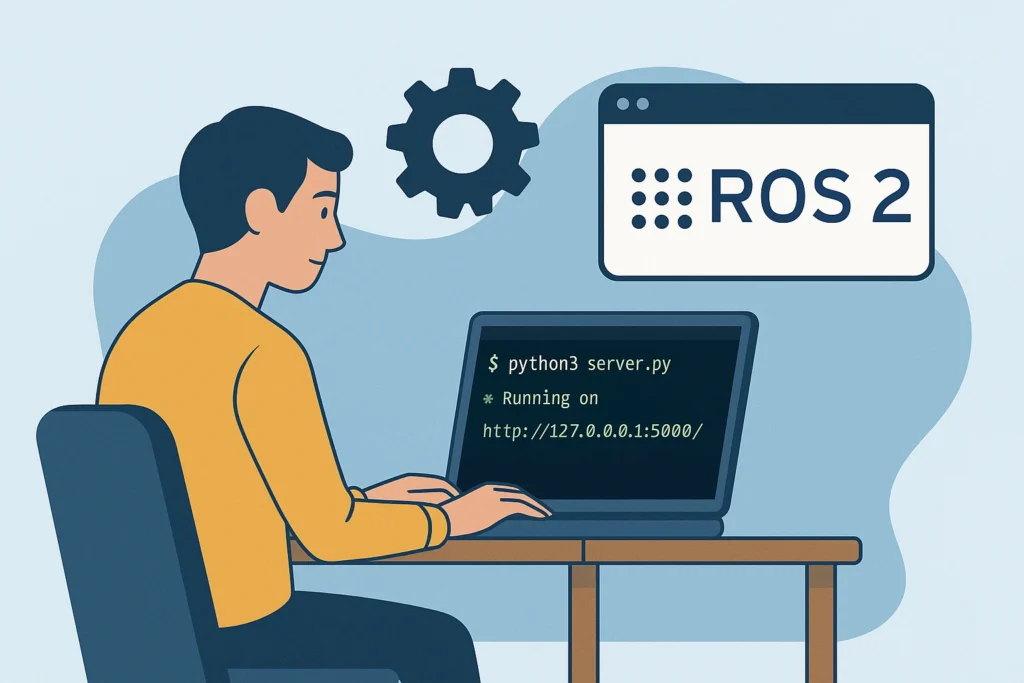
In this tutorial, you鈥檒l learn how to connect the Alexa Skill you previously created to a local ROS 2 server using ngrok. This setup will allow your voice commands to travel from Amazon鈥檚 cloud to your machine, where they can be interpreted and translated into robot actions. By the end of this guide, you鈥檒l have a fully functioning integration between Alexa and your robot鈥檚 backend via a secure tunnel.聽
First, download and install ngrok from https://ngrok.com/. You鈥檒l need to sign up for a free account and retrieve your auth token.聽
Once installed, start a tunnel to the port your server is running on (usually 5000):聽
`ngrok http 5000`聽
ngrok will provide you with a public HTTPS URL (e.g., https://abc123.ngrok.io). This will forward requests directly to your local server.聽
Head to the Alexa Developer Console and open your skill.聽
– Go to the ‘Endpoint’ section聽
– Replace the placeholder with the public URL provided by ngrok聽
– Select the option: ‘My development endpoint is a sub-domain of a domain that has a valid certificate’聽
– Save the changes聽
Now Alexa will send requests to your local machine through the secure ngrok tunnel.聽
Make sure your Flask server is running on the port you specified with ngrok (e.g., port 5000).聽
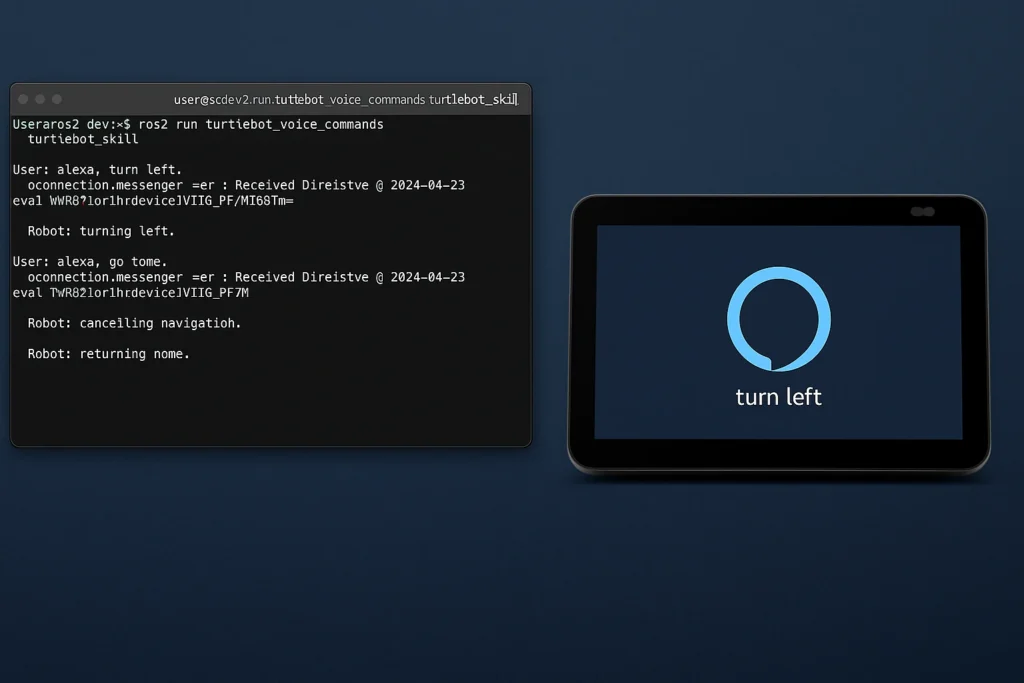
The server should be capable of parsing Alexa鈥檚 JSON requests, identifying the intent, and triggering the appropriate ROS 2 action or log message.聽
Start it with:聽
`python3 alexa_server.py`聽
Ensure ROS 2 and the robot nodes are also running, so the server can communicate with them.聽
Go to the ‘Test’ tab in the Alexa Developer Console.聽
– Enable testing (if not already enabled)聽
– Say or type one of the invocation phrases like: ‘Alexa, activate the robot’聽
You should see:聽
– Alexa sends a request to ngrok聽
– ngrok forwards it to your Flask server聽
– The server parses the intent and sends a goal to the ROS 2 action server聽
– The robot performs the action and the server responds to Alexa聽
In the ngrok terminal, you can monitor all incoming requests and responses in real time. This is useful for checking if Alexa is communicating properly with your server.聽
You can also print logs in your Flask app to show which intent was received and what ROS command was executed.聽
Use print statements or proper logging inside your Python code to verify that everything is running smoothly.聽
You鈥檝e now connected a custom Alexa Skill to a local ROS 2 server via ngrok, tested end-to-end communication, and controlled your robot through voice commands.聽
As a next step, you could:聽
– Secure the ngrok tunnel with authentication聽
– Move the server to a Raspberry Pi聽
– Extend your Alexa Skill with more commands and robot functionality聽
In the next tutorial, we鈥檒l show how to write the Python Flask server step by step and connect it to a ROS 2 action client.聽