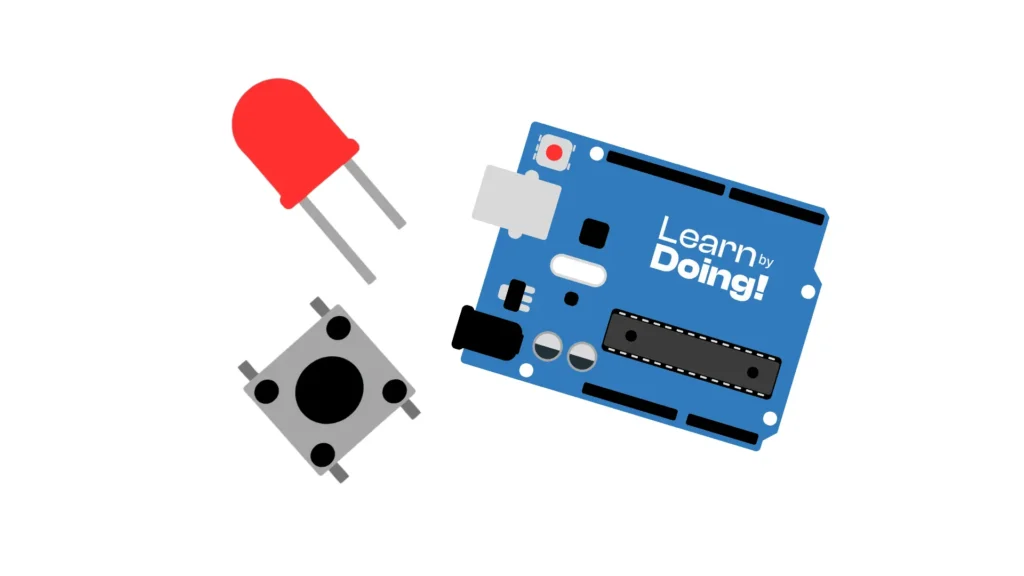
In this tutorial, we will learn how to control an LED using a push button connected to an Arduino Uno. We will also explore the use of resistors: how to choose them, their function, and how to read their color codes.
1 x Arduino Uno (or compatible board)
Jumper wires
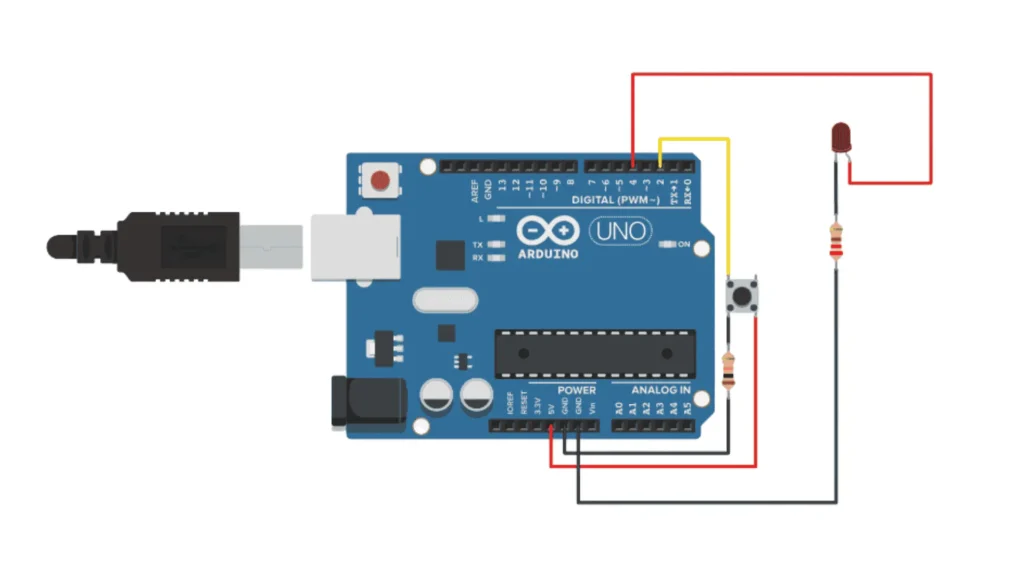
The 220Ω resistor limits the current going through the LED to prevent it from burning out. The 10kΩ resistor ensures that the button pin reads LOW when the button is not pressed.

Below you will find the complete code to make the LED turn on when the button is pressed:
This is the complete code to use the button with Arduino:
					const int buttonPin = 7;      // Pin connected to the button
const int ledPin = 13;        // Pin connected to the LED

int buttonState = 0;          // Variable to store button state

void setup() {
  pinMode(buttonPin, INPUT);  // Set button pin as input
  pinMode(ledPin, OUTPUT);    // Set LED pin as output
}

void loop() {
  buttonState = digitalRead(buttonPin);

  if (buttonState == HIGH) {
    digitalWrite(ledPin, HIGH); // Turn LED on
  } else {
    digitalWrite(ledPin, LOW);  // Turn LED off
  }
}
Let’s review the code section by section:
buttonPin
Is used to detect the button press.
ledPin
Controls the LED.
pinMode()
Sets up the pins as input or output.
digitalRead()
Checks if the button is pressed.
digitalWrite()
Turns the LED on or off based on the button’s state.
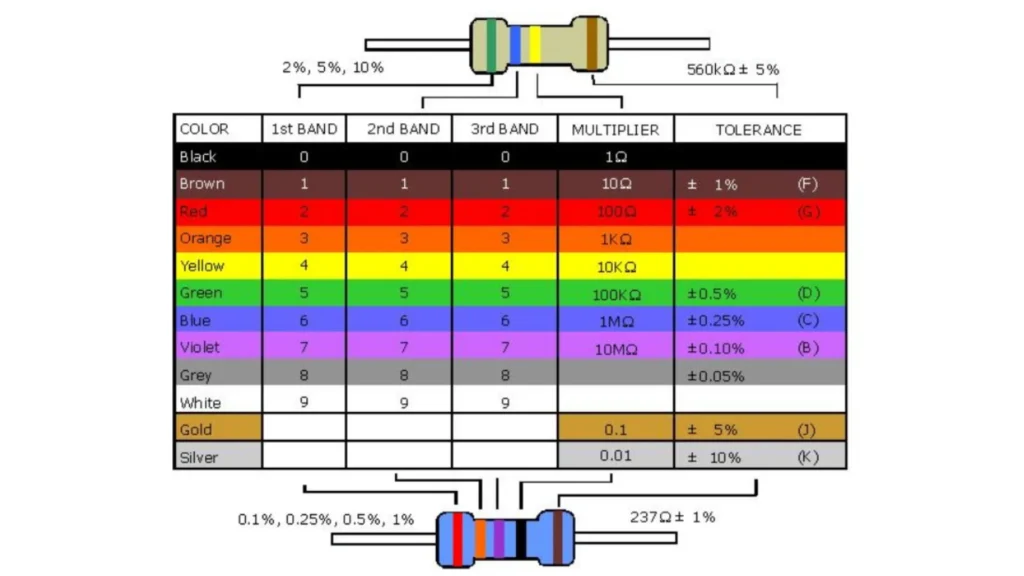
Resistors limit the current in a circuit. For LEDs, a 220Ω resistor ensures safe current levels. For buttons, a 10kΩ pull-down resistor ensures the signal is stable (LOW when not pressed).
Here’s how to read the color bands on resistors:

Assemble your robot and get started to learn Robotics!