In robotics, especially with ROS 2, it’s common for different nodes to interact and collaborate to accomplish tasks. So far, we’ve used the publisher/subscriber model to communicate between them — which works well for data streaming. But what if you just need to trigger a specific operation and get a result back?
That’s where Services in ROS 2 come into play. They allow one node to offer a specific functionality and other nodes to access it on demand using a request-response protocol.
In this tutorial, we’ll explore the server side of services in ROS 2 using Python. We’ll build a service that sums two integers, exposing the logic as a reusable node that other nodes can call any time they need.
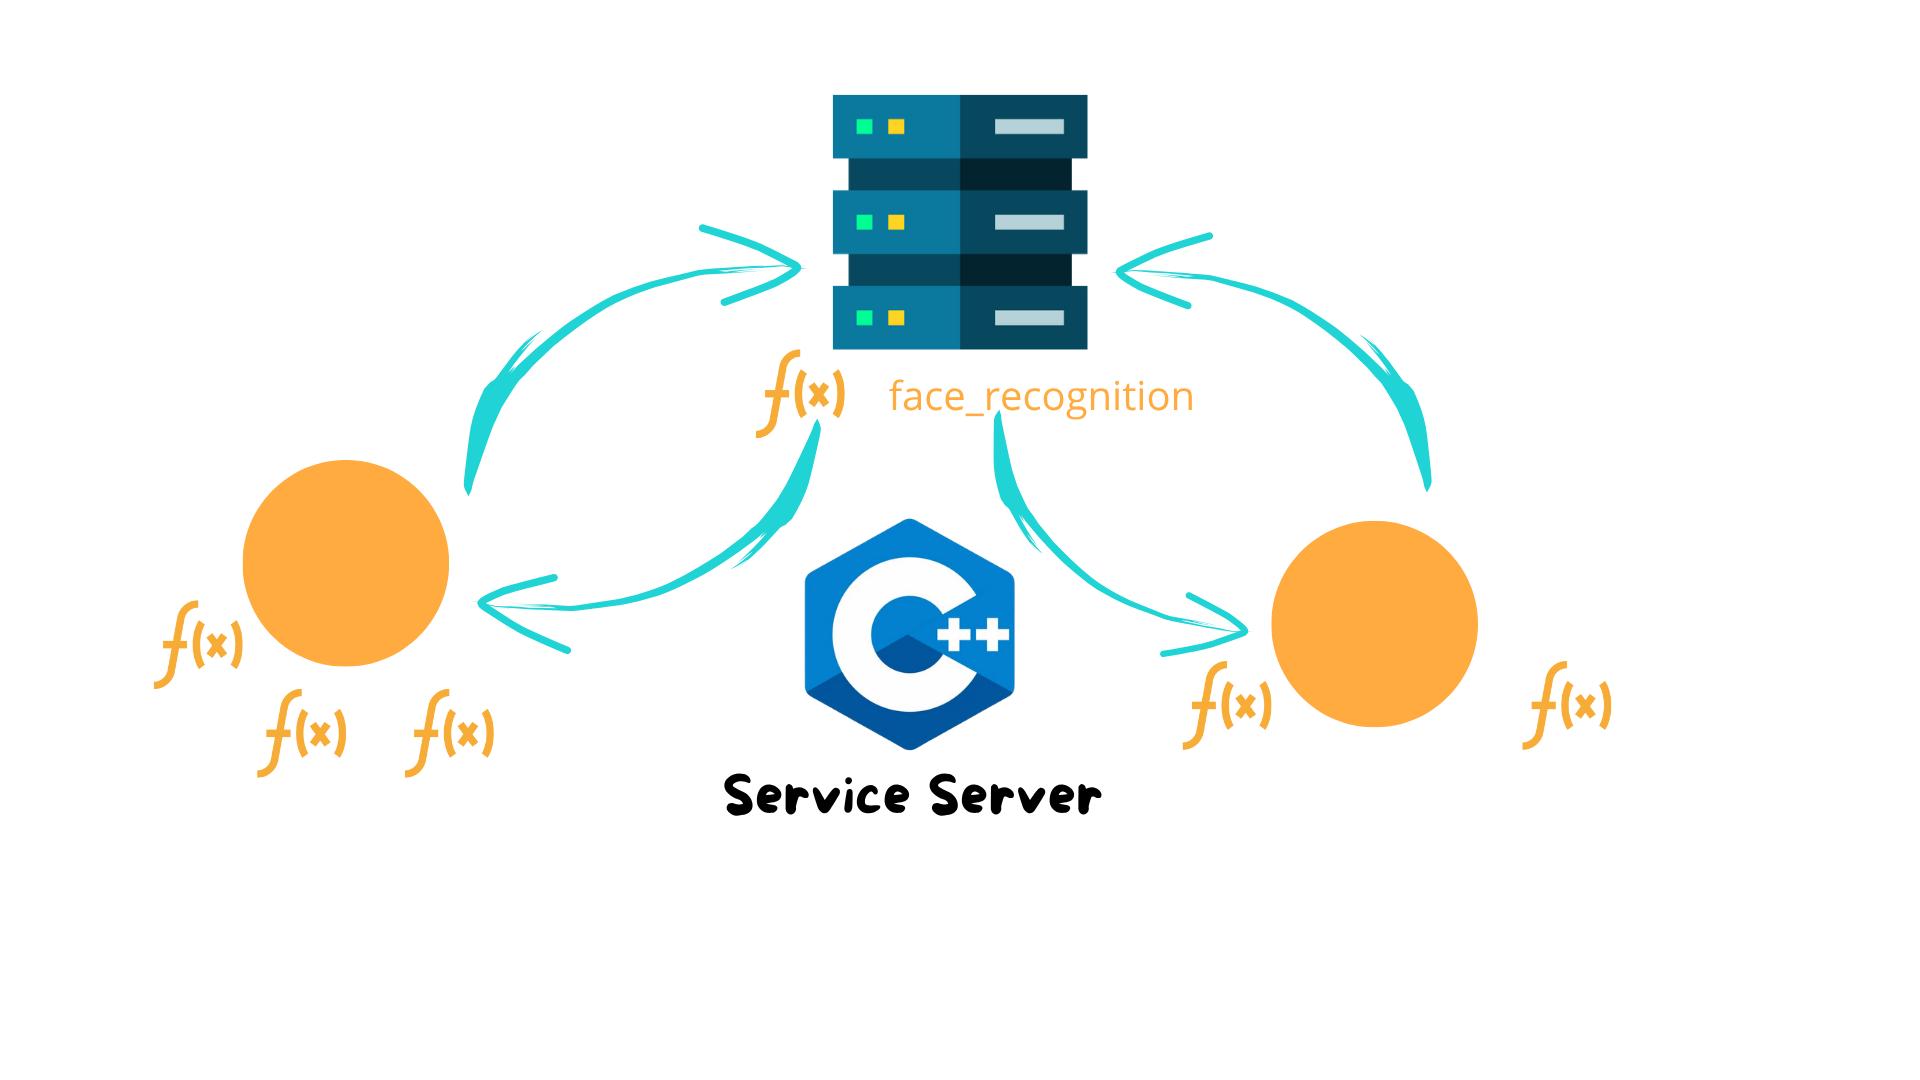
Imagine this: you’ve already built a face detection feature for your robot in one node. Later, you write another node that needs the same functionality.
Copy-pasting the same face detection code into multiple files might sound like a quick fix, but it introduces risk and maintenance headaches — especially if the code needs to change later.
Instead, you can wrap that logic in a service, turning it into a callable unit. This way, other nodes just send a request, get a response, and stay decoupled from the implementation.

ROS 2 services follow a client-server model:
A Service Server node offers functionality (e.g., summing two numbers)
A Service Client node requests that functionality when needed
The server processes the request and sends a response back
This is fundamentally different from topics. Topics are about continuous data streams. Services are about one-time actions with expected outputs.
Before building the service, we must define the message structure it will use.
Each service in ROS 2 has:
Let’s define a simple service that adds two integers.
					cd ~/arduinobot_ws/src
ros2 pkg create --build-type ament_cmake arduinobot_msgs
Create the interface folder and file:
					mkdir -p arduinobot_msgs/srv
nano arduinobot_msgs/srv/AddTwoInts.srv
Add the request/response structure:
					# Request
int64 a
int64 b
---
# Response
int64 sum
Update CMakeLists.txt:
					find_package(rosidl_default_generators REQUIRED)
find_package(std_msgs REQUIRED)

rosidl_generate_interfaces(${PROJECT_NAME}
  "srv/AddTwoInts.srv"
)
Update package.xml:
					<build_depend>rosidl_default_generators</build_depend>
<exec_depend>rosidl_default_runtime</exec_depend>
<depend>std_msgs</depend>
<member_of_group>rosidl_interface_packages</member_of_group>
Build the workspace:
					cd ~/arduinobot_ws
colcon build
. install/setup.bash
 The Full Code
Now that we’ve defined the service interface, let’s create the actual C++ node that will act as the server. Here’s the full code, followed by an explanation of each part.
					#include <memory>
#include <rclcpp/rclcpp.hpp>
#include "arduinobot_msgs/srv/add_two_ints.hpp"

using std::placeholders::_1;
using std::placeholders::_2;

class SimpleServiceServer : public rclcpp::Node
{
public:
  SimpleServiceServer()
  : Node("simple_service_server")
  {
    service_ = this->create_service<arduinobot_msgs::srv::AddTwoInts>(
      "add_two_ints", std::bind(&SimpleServiceServer::serviceCallback, this, _1, _2));

    RCLCPP_INFO(this->get_logger(), "Service add_two_ints Ready");
  }

private:
  void serviceCallback(
    const std::shared_ptr<arduinobot_msgs::srv::AddTwoInts::Request> request,
    const std::shared_ptr<arduinobot_msgs::srv::AddTwoInts::Response> response)
  {
    RCLCPP_INFO(this->get_logger(), "New Request Received: a=%ld, b=%ld", request->a, request->b);

    response->sum = request->a + request->b;

    RCLCPP_INFO(this->get_logger(), "Returning sum: %ld", response->sum);
  }

  rclcpp::Service<arduinobot_msgs::srv::AddTwoInts>::SharedPtr service_;
};

int main(int argc, char **argv)
{
  rclcpp::init(argc, argv);
  auto node = std::make_shared<SimpleServiceServer>();
  rclcpp::spin(node);
  rclcpp::shutdown();
  return 0;
}
Let’s go through the code of our simple_service_server.cpp line by line, so you fully understand how the node is built and how the service is created and exposed in ROS 2.
					#include <memory>
#include <rclcpp/rclcpp.hpp>
#include "arduinobot_msgs/srv/add_two_ints.hpp"
memory: This is from the C++ standard library and provides std::shared_ptr, which we use for smart memory management.rclcpp: The core ROS 2 client library for C++."arduinobot_msgs/srv/add_two_ints.hpp": The header file generated from your custom .srv definition. It contains the AddTwoInts service interface.
					using std::placeholders::_1;
using std::placeholders::_2;
These are used to specify arguments when binding a method to a callback. _1 and _2 correspond to the first and second arguments passed during a service call (request and response).
class SimpleServiceServer : public rclcpp::Node
We’re declaring a class called SimpleServiceServer, and it inherits from rclcpp::Node, which is the base class for any ROS 2 node in C++.
					SimpleServiceServer()
: Node("simple_service_server")
This constructor initializes the node and registers its name in the ROS 2 graph as "simple_service_server".
					service_ = this->create_service<arduinobot_msgs::srv::AddTwoInts>(
  "add_two_ints", std::bind(&SimpleServiceServer::serviceCallback, this, _1, _2));
This line creates the actual service:
AddTwoInts, defined in the .srv file./add_two_ints in ROS 2.serviceCallback will be executed, with _1 and _2 representing the incoming request and response objects.
RCLCPP_INFO(this->get_logger(), "Service add_two_ints Ready");
This logs an informational message to the terminal so you know your server has been successfully created.
					void serviceCallback(
  const std::shared_ptr<arduinobot_msgs::srv::AddTwoInts::Request> request,
  const std::shared_ptr<arduinobot_msgs::srv::AddTwoInts::Response> response)
This function will be called every time a client sends a request to the service.
RCLCPP_INFO(this->get_logger(), "New Request Received: a=%ld, b=%ld", request->a, request->b);
This logs the two integers received from the client.
response->sum = request->a + request->b;
This performs the core functionality of the service: summing the two values
RCLCPP_INFO(this->get_logger(), "Returning sum: %ld", response->sum);
This logs the result before it’s returned to the client.
rclcpp::Service<arduinobot_msgs::srv::AddTwoInts>::SharedPtr service_;
This member variable holds the reference to the service so it can live as long as the node itself. It’s a SharedPtr (shared pointer) to manage memory safely.
					int main(int argc, char **argv)
{
  rclcpp::init(argc, argv);
  auto node = std::make_shared<SimpleServiceServer>();
  rclcpp::spin(node);
  rclcpp::shutdown();
  return 0;
}
rclcpp::init(argc, argv): Initializes the ROS 2 system.
std::make_shared<SimpleServiceServer>(): Creates an instance of the service node.
rclcpp::spin(node): Starts the event loop so the node can process incoming service requests.
rclcpp::shutdown(): Shuts down ROS 2 cleanly when the node is stopped.
Make sure to register this executable:
					add_executable(simple_service_server src/simple_service_server.cpp)
ament_target_dependencies(simple_service_server rclcpp arduinobot_msgs)
install(TARGETS simple_service_server DESTINATION lib/${PROJECT_NAME})
Also, don’t forget to declare dependencies in package.xml
Let’s put it all together:
					# Build your workspace
cd ~/arduinobot_ws
colcon build

# Source it
. install/setup.bash

# Run your service node
ros2 run arduinobot_cpp_examples simple_service_server
Open a new terminal and run:
					. install/setup.bash
ros2 service list
You should see /add_two_ints.
Now test it by calling the service:
ros2 service call /add_two_ints arduinobot_msgs/srv/AddTwoInts "{a: 4, b: 6}"
You should get:
					requester: making request: arduinobot_msgs.srv.AddTwoInts.Request(a=4, b=6)
response:
  sum: 10
