
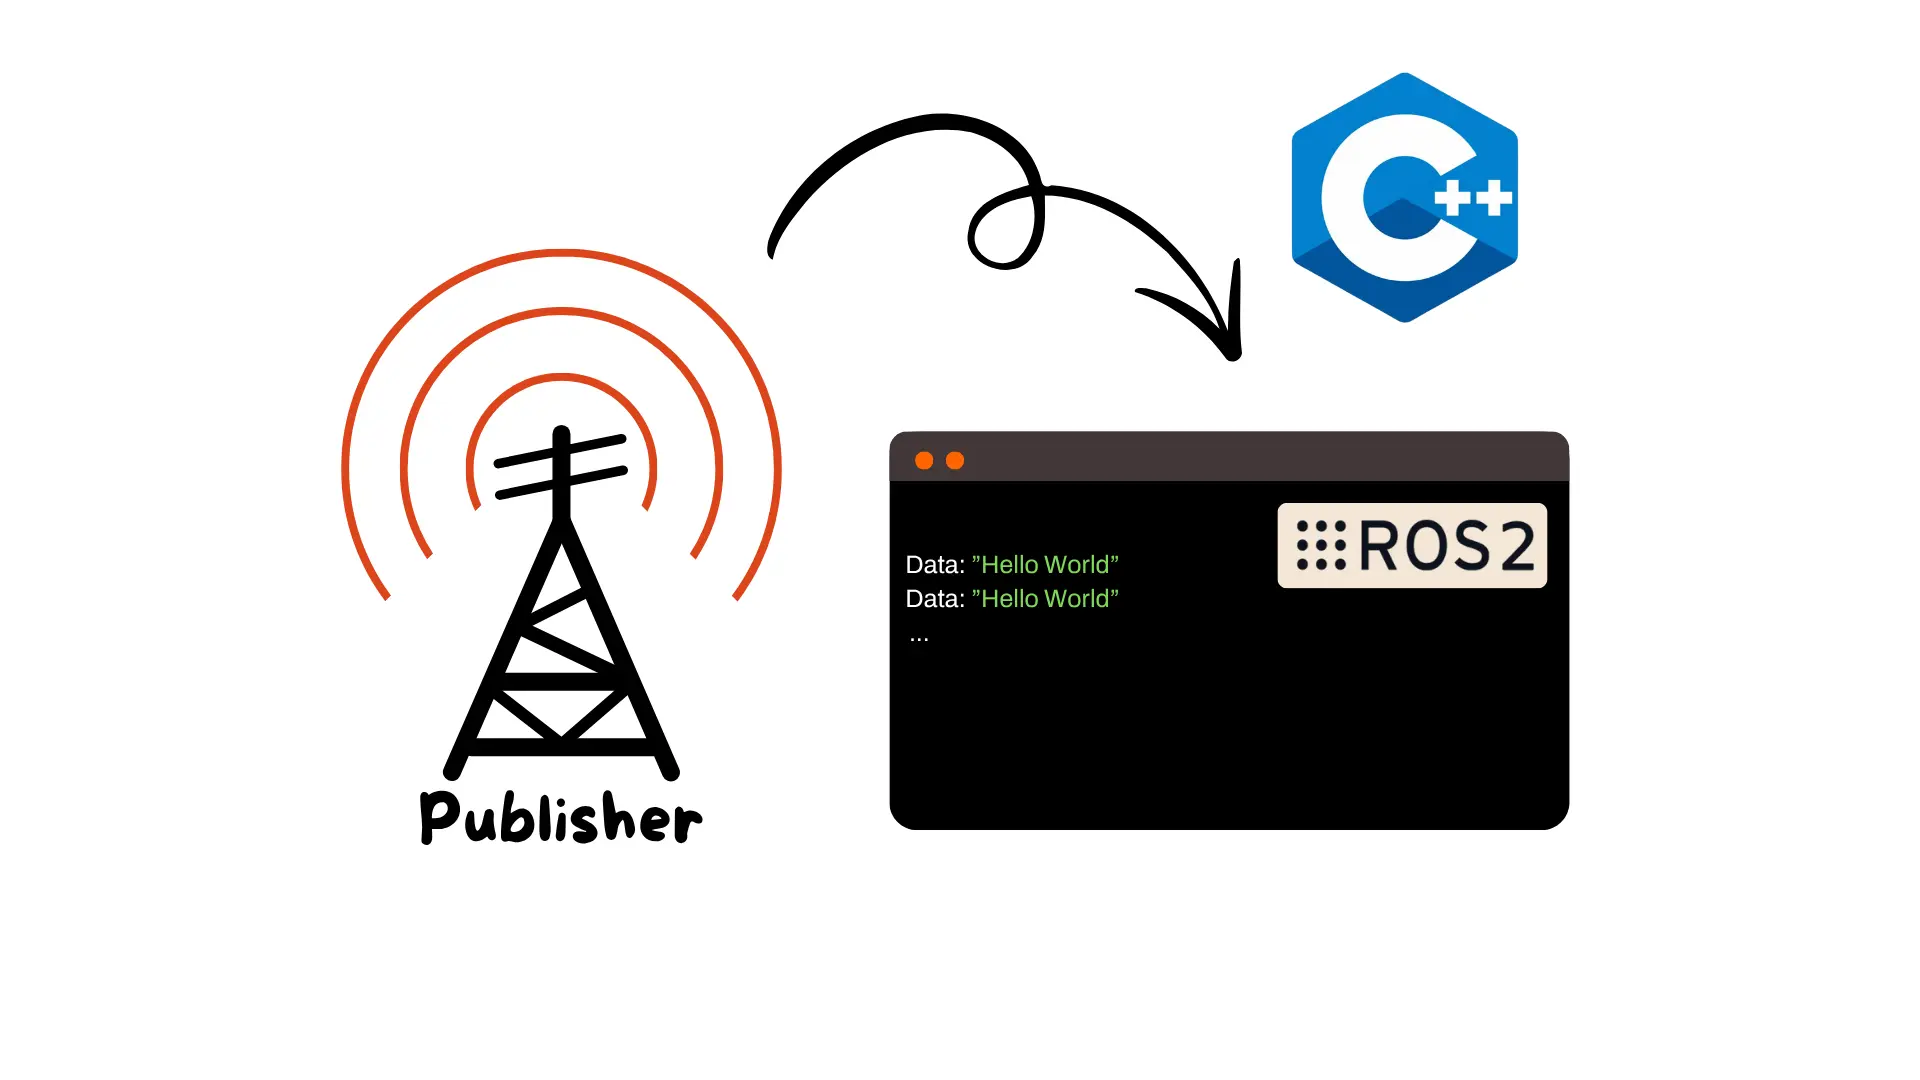
In this tutorial, we’ll learn how to create a simple ROS2 node using C++ that sends text messages to a topic.
This is one of the fundamental skills in the ROS2 ecosystem — allowing different programs (called nodes) to talk to each other via topics.
In ROS (Robot Operating System), software is organized into small, independent processes called nodes.
Nodes communicate by publishing and subscribing to topics — named channels that carry specific types of data.
For example:
A camera node might publish images on /camera/image_raw
A motor controller might subscribe to /cmd_vel to receive movement commands.
Nodes and topics decouple your software, so different parts of your robot can evolve independently and work together via message passing.
We’ll:
Create a new C++ package inside an existing ROS2 workspace
Write a publisher node in C++
Build and run it
Monitor its output via ROS2 command-line tools
The node will:
Publish a string message on a topic named /chatter
Run in a loop at a fixed frequency
Display a counter alongside the message

If you haven’t created a ROS2 workspace yet, follow this clear tutorial first:
How to Create a ROS2 Workspace
Once your workspace is ready and sourced, continue from here.
Inside your workspace’s src folder:
					cd ~/ros2_cpp_ws/src
ros2 pkg create --build-type ament_cmake tutorial_publisher \
  --dependencies rclcpp std_msgs
Explanation:
tutorial_publisher is the package name.
roscpp is the C++ client library for ROS.
std_msgs provides standard message types like strings and numbers.
Let’s create a new C++ file inside src/:
					cd ~/ros2_cpp_ws/src/tutorial_publisher/src
touch simple_publisher.cpp
Open it in your text editor, and paste the following code:
					#include <rclcpp/rclcpp.hpp>
#include <std_msgs/msg/string.hpp>
#include <chrono>

using namespace std::chrono_literals;

int main(int argc, char * argv[])
{
  rclcpp::init(argc, argv);
  auto node = rclcpp::Node::make_shared("simple_publisher_cpp");
  auto publisher = node->create_publisher<std_msgs::msg::String>("chatter", 10);
  rclcpp::WallRate loop_rate(10ms); // 100 Hz

  size_t counter = 0;
  while (rclcpp::ok()) {
    auto msg = std_msgs::msg::String();
    msg.data = "Hello ROS2 world " + std::to_string(counter++);
    publisher->publish(msg);
    rclcpp::spin_some(node);
    loop_rate.sleep();
  }

  rclcpp::shutdown();
  return 0;
}
Let’s carefully go through this code line by line.
Include Required Headers
					#include "ros/ros.h"
#include "std_msgs/String.h"
#include <sstream>
We bring in ROS 2 C++ APIs, the standard string message type, and chrono utilities for timing.
Time Literals
using namespace std::chrono_literals;
Allows us to use convenient suffixes like 100ms or 1s.
main() and Initialization
rclcpp::init(argc, argv);
Initializes ROS 2 using command-line arguments; must be called before using ROS.
Create the Node
auto node = rclcpp::Node::make_shared("simple_publisher_cpp");
Instantiates a node named “simple_publisher_cpp” to interact with the ROS graph.
Create the Publisher
auto publisher = node->create_publisher<std_msgs::msg::String>("chatter", 10);
Sets up a publisher on topic chatter using message type std_msgs::msg::String, with a QoS queue size of 10.
Loop Rate Control
rclcpp::WallRate loop_rate(10ms); // 100 Hz
Creates a timer to regulate the loop to approximately 100 Hz (every 10 ms).
Counter
size_t counter = 0;
Simple counter to number each message for clarity.
Publishing Loop
					while (rclcpp::ok()) {
  auto msg = std_msgs::msg::String();
  msg.data = "Hello ROS2 world " + std::to_string(counter++);
  publisher->publish(msg);
  rclcpp::spin_some(node);
  loop_rate.sleep();
}
while (rclcpp::ok()): continues while ROS 2 hasn’t been shutdown.
msg.data: combined greeting and counter.
publish(): sends the message on /chatter.
spin_some(): handles any incoming callbacks (if there were subscribers or timers).
loop_rate.sleep(): enforces the 100 Hz pause between loops.
Clean Shutdown
					rclcpp::shutdown();
return 0;
Gracefully stops all ROS 2 processes and exits the program.
Open your CMakeLists.txt and add:
					add_executable(simple_cpp_publisher src/simple_publisher.cpp)
ament_target_dependencies(simple_cpp_publisher rclcpp std_msgs)
install(TARGETS
  simple_cpp_publisher
  DESTINATION lib/${PROJECT_NAME})
This tells CMake how to build your program and link it with ROS libraries.
From your workspace root:
					cd ~/ros2_cpp_ws
colcon build --symlink-install
source install/setup.bash
In a new terminal:
					source install/setup.bash
ros2 run tutorial_publisher simple_cpp_publisher
In another terminal:
					ros2 topic list
ros2 topic echo /chatter
You’ll see:
					data: "Hello world 0"
data: "Hello world 1"
...
Check topic information:
rostopic info /chatter
Check message frequency:
rostopic hz /chatter
It should report a rate around 100Hz.
Assemble your robot and get started to learn Robotics!