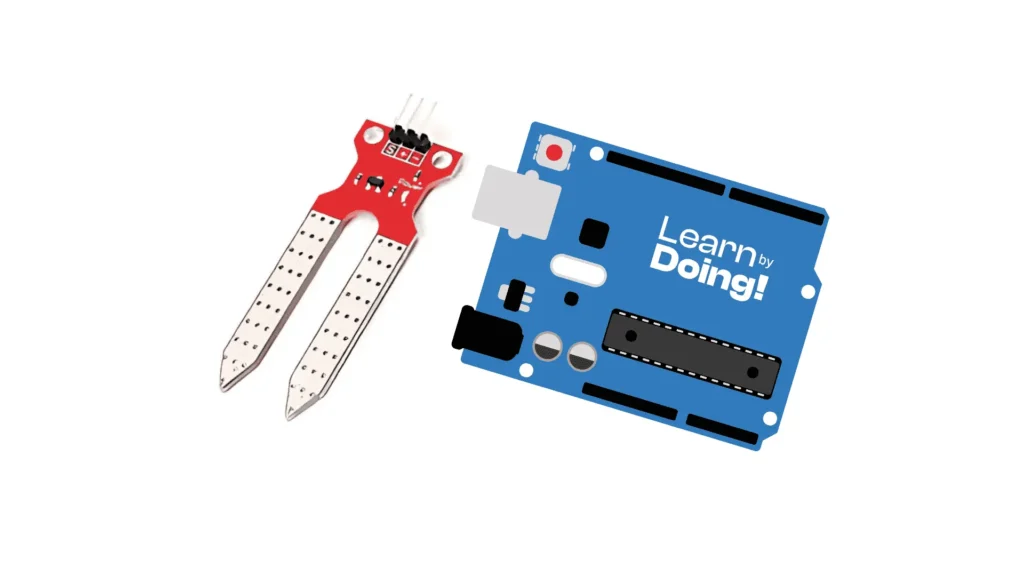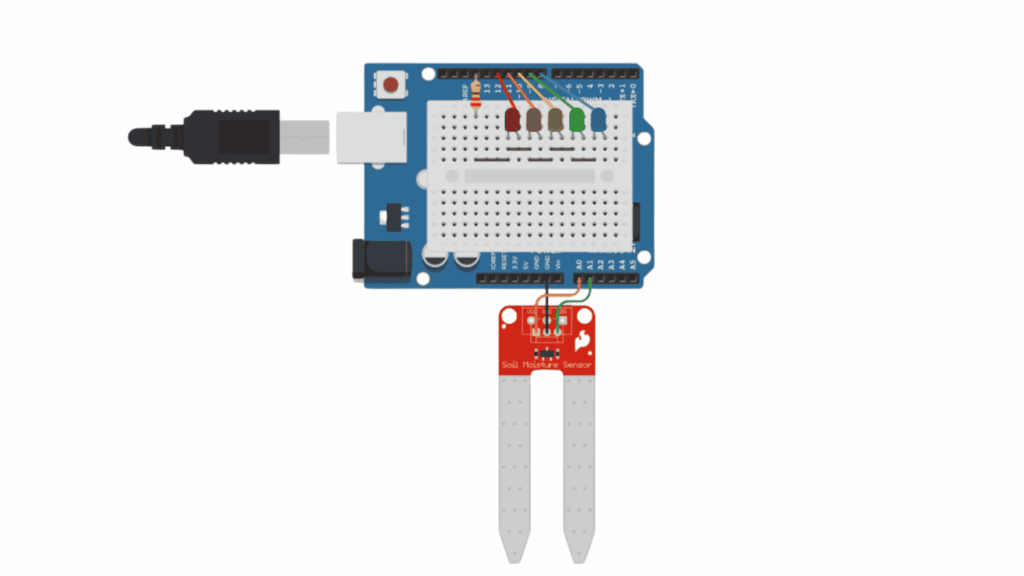
In this tutorial, you will learn how to use a basic analog soil moisture sensor with an Arduino Uno to measure soil humidity. Instead of using a digital humidity sensor, we will power the analog sensor selectively to reduce corrosion, read the moisture level, and visually represent it using 5 LEDs ranging from dry to wet soil conditions.

Below you will find the complete code to use the humidity sensor:
					// C++ code
//
int moisture = 0;

void setup()
{
  pinMode(A0, OUTPUT);
  pinMode(A1, INPUT);
  Serial.begin(9600);
  pinMode(8, OUTPUT);
  pinMode(9, OUTPUT);
  pinMode(10, OUTPUT);
  pinMode(11, OUTPUT);
  pinMode(12, OUTPUT);
}

void loop()
{
  // Apply power to the soil moisture sensor
  digitalWrite(A0, HIGH);
  delay(10); // Wait for 10 millisecond(s)
  moisture = analogRead(A1);
  // Turn off the sensor to reduce metal corrosion
  // over time
  digitalWrite(A0, LOW);
  Serial.println(moisture);
  digitalWrite(8, LOW);
  digitalWrite(9, LOW);
  digitalWrite(10, LOW);
  digitalWrite(11, LOW);
  digitalWrite(12, LOW);
  if (moisture < 200) {
    digitalWrite(12, HIGH);
  } else {
    if (moisture < 400) {
      digitalWrite(11, HIGH);
    } else {
      if (moisture < 600) {
        digitalWrite(10, HIGH);
      } else {
        if (moisture < 800) {
          digitalWrite(9, HIGH);
        } else {
          digitalWrite(8, HIGH);
        }
      }
    }
  }
  delay(100); // Wait for 100 millisecond(s)
}
Let’s review the code section by section:
int moisture = 0;
					void setup() {
  pinMode(A0, OUTPUT);     // Power pin for the sensor
  pinMode(A1, INPUT);      // Analog signal input from the sensor
  Serial.begin(9600);      // Start Serial Monitor
  pinMode(8, OUTPUT);      // LED for very dry
  pinMode(9, OUTPUT);      // LED for dry
  pinMode(10, OUTPUT);     // LED for medium
  pinMode(11, OUTPUT);     // LED for moist
  pinMode(12, OUTPUT);     // LED for very wet
}
A0 as output to control power to the sensor.A1.
					  digitalWrite(A0, HIGH);       // Turn on the sensor
  delay(10);                    // Wait 10 ms to stabilize
  moisture = analogRead(A1);    // Read analog value from the sensor
  digitalWrite(A0, LOW);        // Turn off sensor to prevent corrosion
Serial.println(moisture);
Sends the moisture value to the Serial Monitor so you can see live readings.
					  digitalWrite(8, LOW);
  digitalWrite(9, LOW);
  digitalWrite(10, LOW);
  digitalWrite(11, LOW);
  digitalWrite(12, LOW);
All LEDs are turned off before updating the current state.
					  if (moisture < 200) {
    digitalWrite(12, HIGH);     // Very wet
  } else if (moisture < 400) {
    digitalWrite(11, HIGH);     // Moist
  } else if (moisture < 600) {
    digitalWrite(10, HIGH);     // Medium
  } else if (moisture < 800) {
    digitalWrite(9, HIGH);      // Dry
  } else {
    digitalWrite(8, HIGH);      // Very dry
  }
Depending on the sensor value, only one LED turns on to indicate the moisture level.
delay(100);
Adds a short pause between readings to stabilize behavior and avoid flooding the Serial Monitor.
Sensor always reads the same value:
LEDs never light up:
Moisture readings seem inverted:
Assemble your robot and get started to learn Robotics!