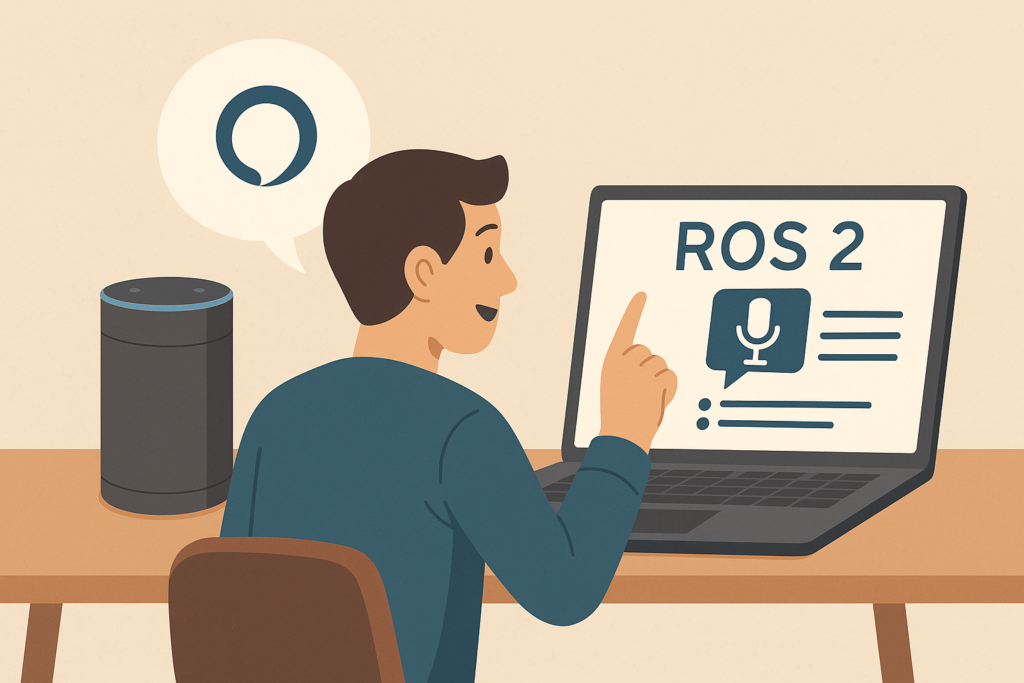
In this guide, you’ll learn how to connect your ROS 2 robot to Amazon Alexa using the internet. This connection enables you to control your robot with voice commands using custom Alexa Skills, without requiring a physical Alexa device. We’ll use the ASK SDK, ngrok, and ROS 2 action servers to complete the setup.
By the end of this tutorial, you will have a working system where Alexa can trigger movements or tasks on your robot through vocal commands and cloud communication. This guide is designed for beginners and does not require prior experience with Alexa development.
Why connect Alexa to a robot?
Connecting a robot to a voice assistant like Alexa transforms the way humans interact with machines. In industrial settings, robots are typically controlled using complex joysticks, which are effective in environments with dust, water, and strict safety standards. However, as robots increasingly enter domestic spaces, natural interfaces like voice become essential.
Human-Robot Interaction (HRI) aims to make robots more intuitive and socially acceptable. Voice commands allow humans to express intentions, request tasks, and receive feedback. This not only improves usability but also opens up broader applications in healthcare, education, and personal assistance.
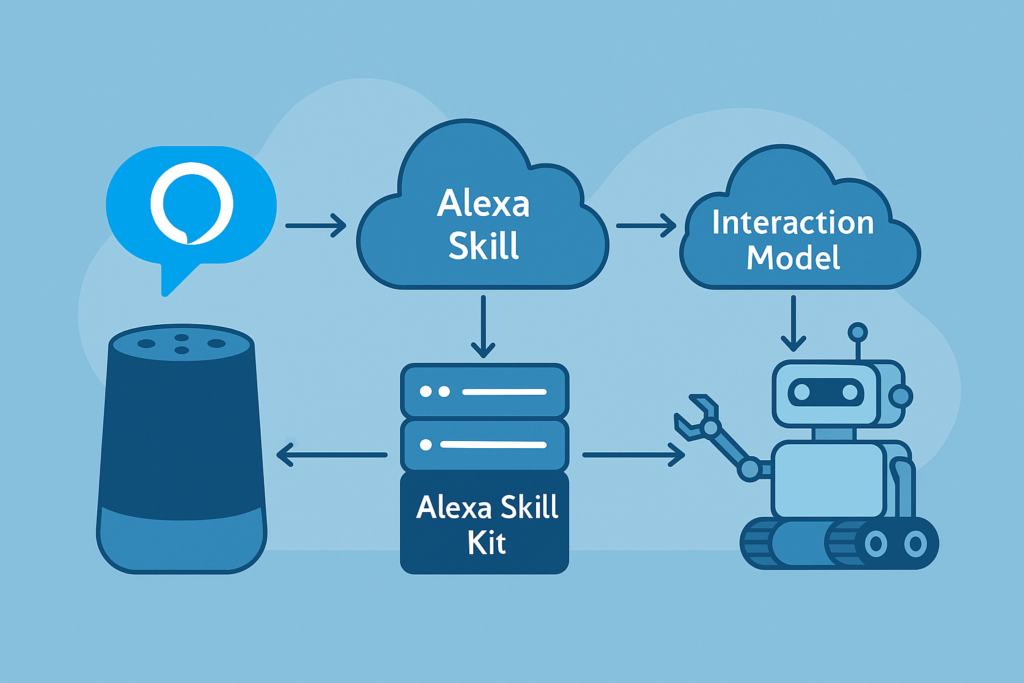
Understanding the Alexa Skill Workflow
An Alexa Skill defines how the voice assistant responds to specific spoken phrases. When a user speaks, Alexa maps the phrase to an intent, then sends a request to a backend service (such as a server on a PC or a robot) that processes it and returns a response.
To create a functional skill, you need to define intents and sample utterances in the Alexa Developer Console. Then, a service (hosted locally or in the cloud) interprets the request and triggers the appropriate actions. The ASK SDK simplifies this process by handling request parsing, response generation, and integration with Alexa’s APIs.
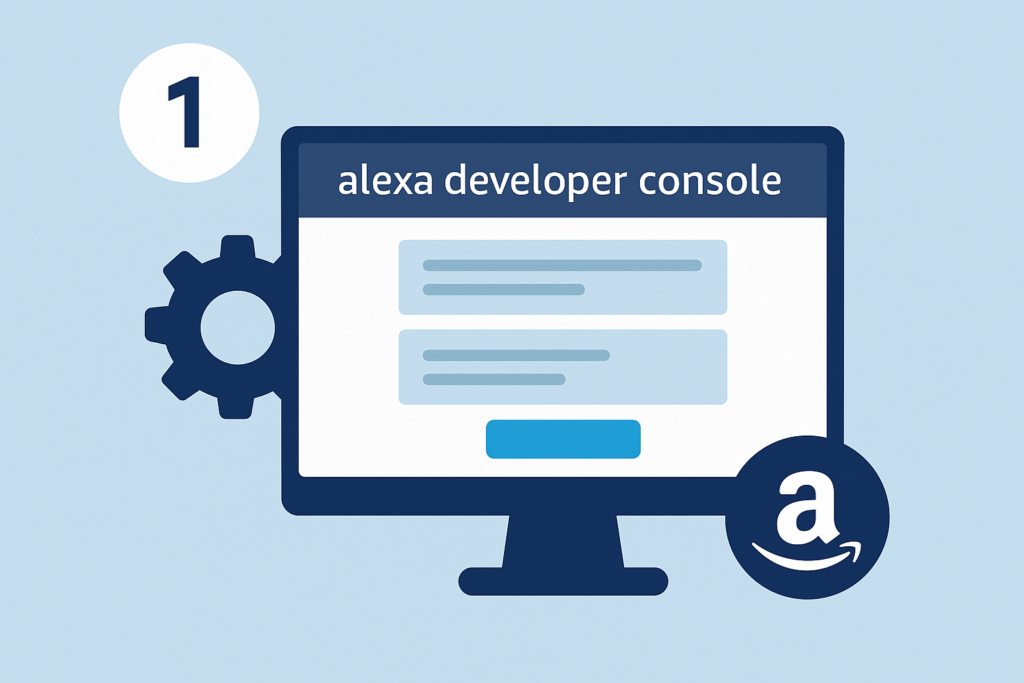
Step 1: configure the Alexa Developer Console
Visit developer.amazon.com and sign in or create a free account. Once inside the Alexa Developer Console, click on “Create Skill.”
Assign a name to your skill (for example, “Robot Controller”) Choose a custom skill and provide your backend resources Select a language (for example, English US) and click on “Create Skill”
Once created, you will be guided through a setup wizard to define intents and add sample utterances.
Step 2: create your first Alexa skill
Using the interaction model editor, define a new intent called “MoveRobotIntent.”
Add sample phrases such as: • move the robot forward • turn left • stop the robot
Save and build the model
Then go to the “Endpoint” section and set the URL to which Alexa will send the requests. This will be the URL you will expose later using ngrok.
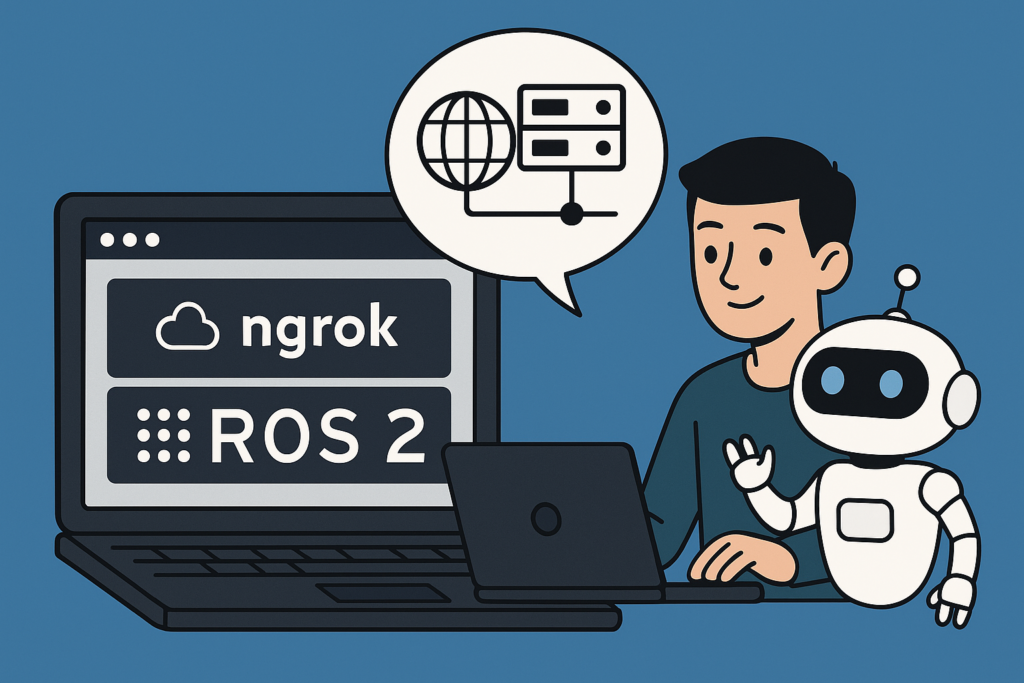
Step 3: expose your robot with ngrok
Ngrok is a tool that allows you to securely expose a local web server to the Internet. Download Ngrok from ngrok.com and run the following command:
ngrok http 5000
This will generate a public URL (e.g., https://abc123.ngrok.io). Copy this URL and paste it into the Endpoint section of your Alexa skill.
Step 4: connect to ROS 2 via a web server
To connect Alexa to ROS 2, you will create a lightweight web server in Python or Node.js. This server listens for requests from Alexa and publishes goals to your ROS 2 action server (e.g., “task_server”).
The server might include logic such as:
Parsing the intent name (e.g., ‘MoveRobotIntent’)
Mapping to ROS 2 actions (e.g., sending a Twist message or an action goal)
Responding to Alexa with a confirmation message
Step 5: test and interact with Alexa
You can now test your Alexa skill directly in the Developer Console. Use the Alexa simulator to speak the commands.
When a command is recognized, Alexa sends the intent to your server through the ngrok tunnel. Your server then sends a goal to the ROS 2 action server, triggering the robot’s response.
You will receive both visual and voice feedback confirming the execution.
Conclusion and Next Steps
You have now integrated Amazon Alexa with your ROS 2 robot! Using natural voice commands, users can trigger robot actions through a cloud connection.
Next, consider:
Expanding your skill with more intents (e.g., changing speed, switching modes)
Hosting your server on a Raspberry Pi or a cloud platform
Securing communication through authentication
In the next lesson, we’ll dive deeper into writing a robust Python Flask server to handle Alexa requests more efficiently.
Discover BumperBot Kit
Assemble your robot and get started to learn Robotics!